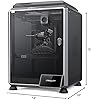
Creality K1C 3D Printer, 3D Printers with 600mm/s Fast Printing Speed, Support Carbon Fiber Filament 300℃ High-Temp Print, Auto Leveling and Clog-Free Direct Extruder 8.66x8.66x9.84 inch


Buy Now, Pay Later
- – Up to 36-month term if approved
- – No impact on credit to apply
- – Instant approval decision
- – Secure and straightforward checkout
Ready to go? Add this product to your cart and select a plan during checkout.
Payment plans are offered through our trusted finance partners Klarna, Affirm, Afterpay, Zip, Apple Pay, and Google Pay. No-credit-needed leasing options through Acima may also be available at checkout.
Learn more about financing & leasing here.
Selected Option
FREE 30-day refund/replacement
To qualify for a full refund, items must be returned in their original, unused condition. If an item is returned in a used, damaged, or materially different state, you may be granted a partial refund.
To initiate a return, please visit our Returns Center.
View our full returns policy here.
Recently Viewed


Set name: K1C
Features
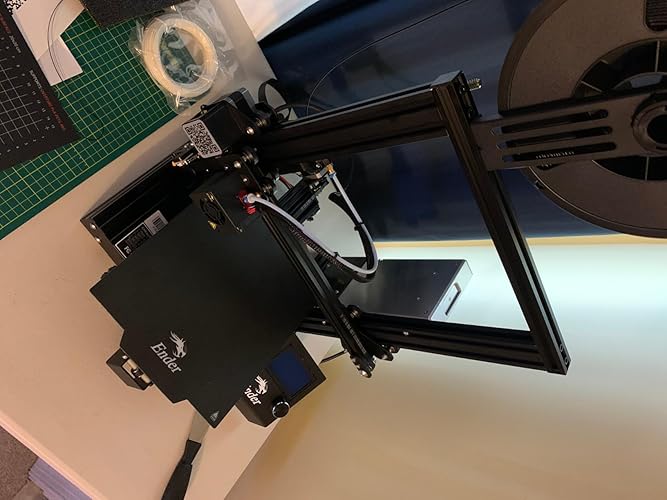
- Faster and More Efficient: Creality K1C 3d printer, equips 600mm/s printing speed and 20000mm/s2 acceleration, it is12 times faster than the other normal 3d printer. Give good printing experience to customers and get a good model in short time. Printing size is 8.66*8.66*9.84 inch
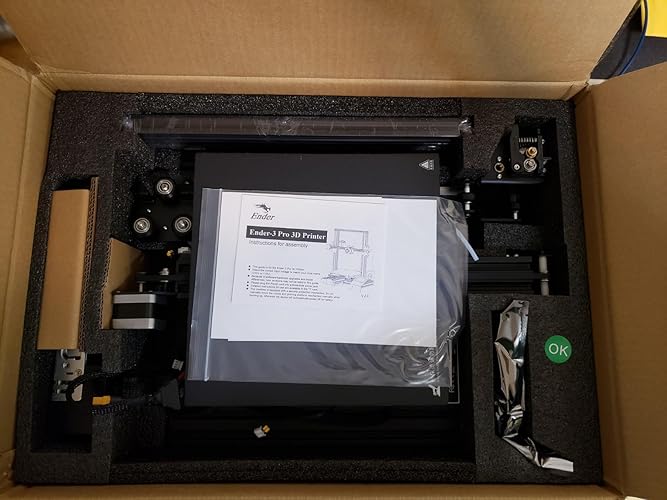
- Convenient Operation: Creality K1C is well assembled and tested before shipment. After unboxing, it is ready for plug and play. The boot-up guide is similar to that of a new smartphone. 3 minutes from unboxing to powering on, you can start print quickly. Also, the auto calibration help you to print easily. Auto Z offset, auto leveling and auto input shaping test, all of the auto operation save your time largly. Give it a tap and walk away. The auto calibration gets everything ready for you. Bid farewell to the frustrating leveling test with paper
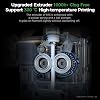
- Clog-free Direct Extruder: It can print carbon fiber filament and many kinds of filament. The K1C 3d printer equips a clog-free direct extruder enhanced a bolster spring and a ball plunger. It grips on filament tightly without slackening off. The durable steel-stipped copper nozzle is integrated with a titanium alloy heatbreak. It blocks heatcreep and can be swapped super easily. The extruder support 300C high-temperature printing
- Smart AI Function: Creality K1C equips observant AI Camera: Recognize spaghetti failure, foreign matter, debris, etc. and support real-time monitoring and time-lapse filming
- Upgraded Cooling Structure: Upgraded fans design makes the cooling function more effective. 1.Hotend fan for minimal heat creep: It avoids pre-mature filament melting from messing the feeding flow. 2.Part cooling fan for instant hardening: A strong wind hardens the fresh extrusion via a special air duct. It catalyzes layer boding and refines layer texture. 3.Auxiliary Fan for Overall Print Quality: An extra fan is on the chamber's side to assist the model cooling. It minimizes string and warping for bridges and overhangs on the printing models
Description
Comgrow is the first seller of Creality 3D on Amazon. We own 20+ technical staff to provide professional support to all customers. Comgrow is devoted to provide high quality and economical 3d printers, 3d printer accessories, 3d printer filament and excellent after-sales service to all customers. Creality K1C 3d printer supports to print PLA-CF/PET-CF, like jigs and fixtures, prototypes etc. Creality K1C 3d printer supports to print PLA/ASA/ABS/TPU, like toys, props, ornaments etc.
Brand: Comgrow
Material: Glass and Aluminum
Color: K1C
Product Dimensions: 25"D x 15"W x 22"H
Item Weight: 27.33 Pounds
Product Dimensions: 25 x 15 x 22 inches
Item Weight: 27.3 pounds
Item model number: K1C
Date First Available: December 19, 2023
Manufacturer: Creality 3D
Frequently asked questions
To initiate a return, please visit our Returns Center.
View our full returns policy here.
- Klarna Financing
- Affirm Pay in 4
- Affirm Financing
- Afterpay Financing
- Zip Pay in 4
- Financing through Apple Pay
- Financing through Google Pay
Learn more about financing & leasing here.
Similar Products


Top Amazon Reviews