Search  for anything...

Xerox B210DNI Monochrome Laser Printer,  White

  • Based on 1,199 reviews
Condition: Used - Like New
Checking for the best price...
$400.00 Why this price?

Buy Now, Pay Later


As low as / mo
  • – Up to 36-month term if approved
  • – No impact on credit
  • – Instant approval decision
  • – Secure and straightforward checkout

Ready to go? Add this product to your cart and select a plan during checkout.

Payment plans are offered through our trusted finance partners Klarna, Affirm, Afterpay, Apple Pay, and PayTomorrow. No-credit-needed leasing options through Acima may also be available at checkout.

Learn more about financing & leasing here.

Free shipping on this product

This item is eligible for return within 30 days of receipt

To qualify for a full refund, items must be returned in their original, unused condition. If an item is returned in a used, damaged, or materially different state, you may be granted a partial refund.

To initiate a return, please visit our Returns Center.

View our full returns policy here.


Availability: Only 1 left in stock, order soon!
Fulfilled by Advanced-Printers

Arrives Jan 8 – Jan 15
Order within 7 minutes
Available payment plans shown during checkout

Protection Plan Protect Your Purchase
Checking for protection plans...

Features

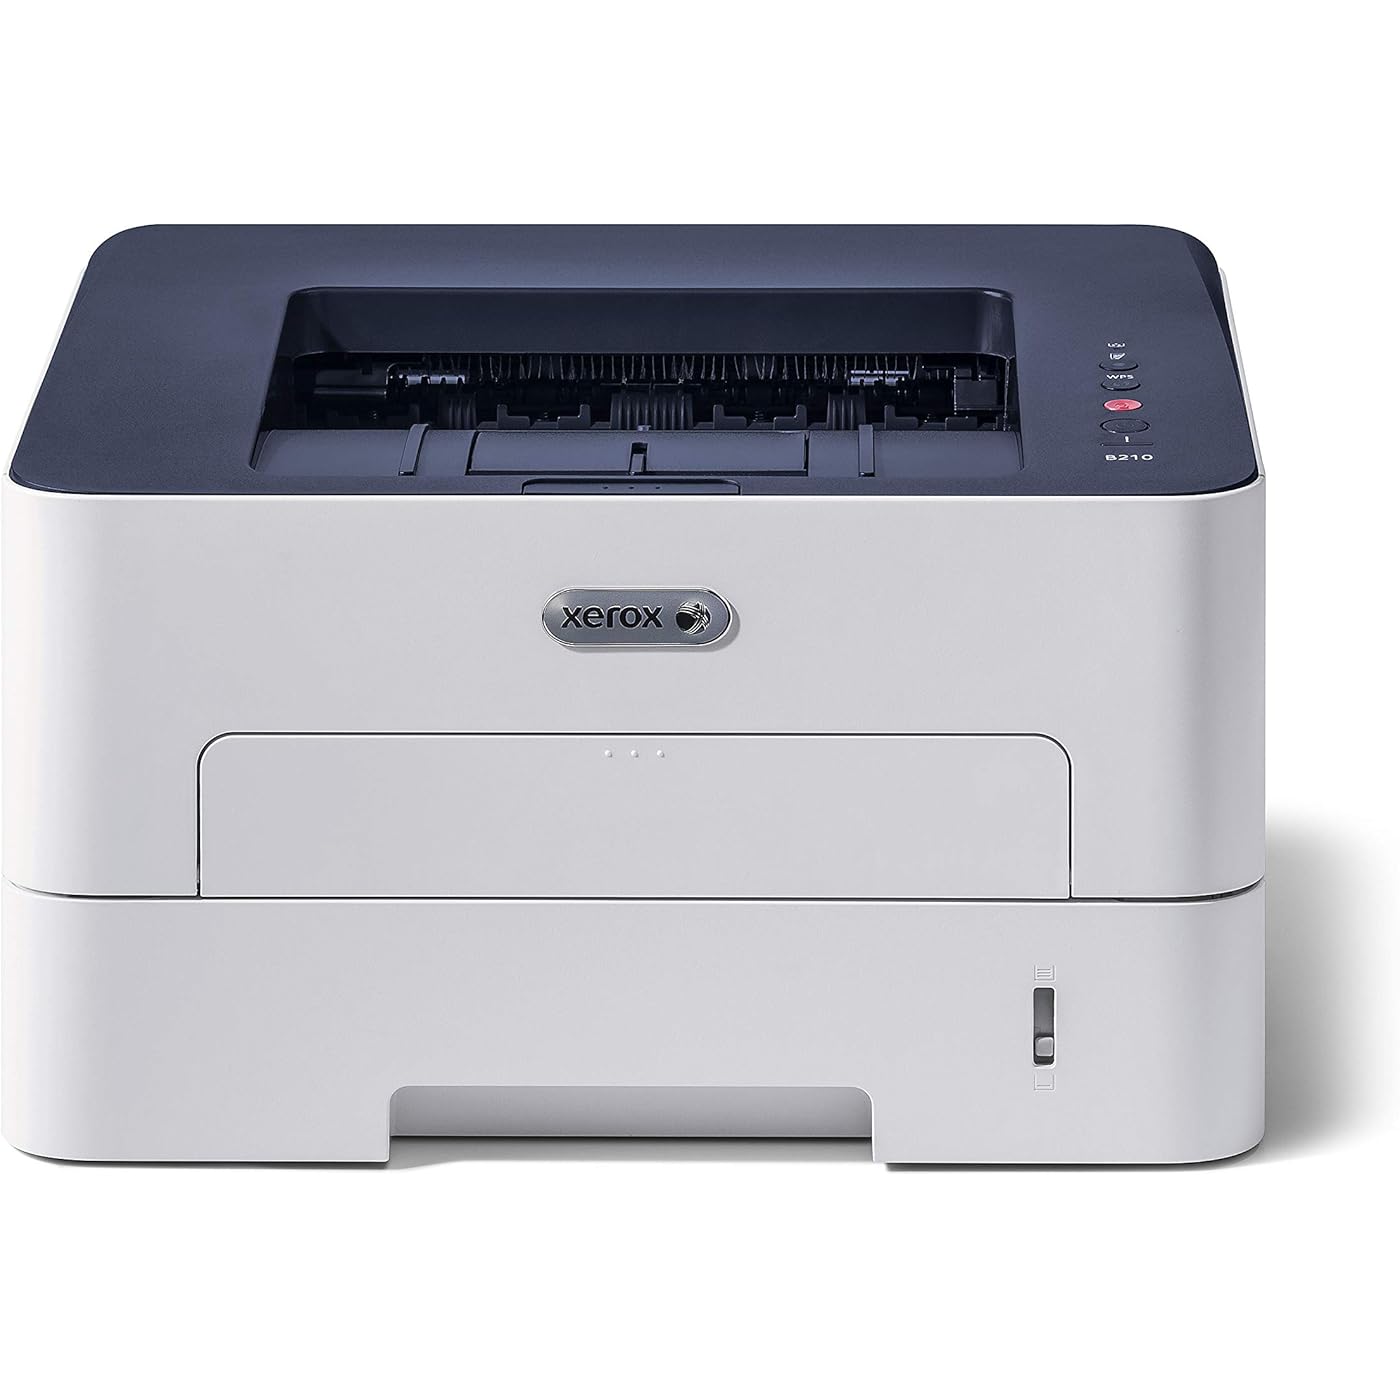
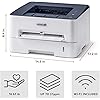
  • COMPACT PERFORMANCE: Lightweight, quiet black and white printer with Built-In Wifi and LED interface. With a first page out time as fast as 8.5 seconds; Prints up to 31 pages per minute print speed with print volumes of up to 4,000 pages monthly
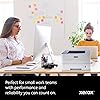
  • CONVENIENCE AND CONNECTIVITY: Built-in Wi-Fi connectivity supports secure printing from a mobile device, laptop or desktop with native AirPrint, Mopria and Android support. Ideal for 1 to 5 users in a home office and small and medium business environments
  • STAY SECURE: Protect sensitive data over the network or on the device with built in secure protocols and features like 802.1X, HTTPS, IPsec, IPv6, IP and Mac address filtering, SNMPv3, Scan to Email with Authentication, Secure Print and Secure Fax Receive
  • ENERGY STAR QUALIFIED: This printer minimizes environmental impacts with features like EPEAT, Green World Alliance, Toner Saver, N-up Printing and N-up Copying
  • GENUINE XEROX TONER: Protects the print quality, reliability and performance of your printer, and is designed with quality controls to provide the best return on your investment

Description

Xerox B210DNI Wifi standard black and white printer with LED user interface replaces Xerox Phaser 3260DNI printer. Print security from your mobile device, Laptop or desktop with native air Print, Mopria and Android support. Prints on a wide assortment of media types plain, thick, thin, cotton, colored, pre- printed, recycled, transparency, label, cardstock, bond and archive. This device was designed for small business work environments, printing 2-Sided print jobs on letter and legal documents with standard paper capacity of 250 sheets with recommended 2,500 pages/monthly print volumes. Along with the 600 MHz processor and 256 MB memory, it can print up to 31 ppm letter/30ppm A4.

Brand: Xerox


Connectivity Technology: Wireless, USB, Ethernet, Networkable


Printing Technology: Laser


Special Feature: Auto-Duplex


Color: White


Recommended Uses For Product: Office, Home


Model Name: B210/DNI


Printer Output: Monochrome


Maximum Print Speed (Color): 30 ppm


Max Printspeed Monochrome: 31 ppm


Product Dimensions: 13.2 x 14.5 x 8.4 inches


Item Weight: 16.7 pounds


Item model number: B210/DNI


Is Discontinued By Manufacturer: No


Date First Available: August 6, 2019


Manufacturer: Xerox


Item Weight: 16.7 Pounds


Max Input Sheet Capacity: 4000


Sheet Size: 8.5x14


Frequently asked questions

If you place your order now, the estimated arrival date for this product is: Jan 8 – Jan 15

Yes, absolutely! You may return this product for a full refund within 30 days of receiving it.

To initiate a return, please visit our Returns Center.

View our full returns policy here.

  • Klarna Financing
  • Affirm Pay in 4
  • Affirm Financing
  • Afterpay Financing
  • PayTomorrow Financing
  • Financing through Apple Pay
Leasing options through Acima may also be available during checkout.

Learn more about financing & leasing here.

Top Amazon Reviews


  • SUCCESSFUL INSTALL AND SETUP — INSIGHTS GAINED
I would be remiss if I did not provide, to those who follow, the insights that I have gained during the course of installing the software/drivers and configuring my recently purchased Xerox B210 printer. I have deducted 1 star for the installation and configuration process. But, having made it through that gauntlet, I do think it's going to be a good printer, suitable for my needs. I made it through the installation and configuration process--without any help from anybody else--only because, prior to attempting the install, (a) I read all of the previously posted prior reviews (and their replies), (b) I reviewed the User Guide, (c) I consider myself to be somewhat tech savvy, and (d) I found a mention of--and read--Xerox support article 2108492. But it was an odyssey, taking several days. This is not an install process for the average user. (1) Installation of the software and drivers and the method of configuring all the innumerable settings is significantly different depending upon whether one is (a) running Windows or using a Mac, and (b) whether one is setting this up with a single, direct USB connection to one's computer or attempting to integrate this printer into their network, and (c), if the latter, whether it is a wired network or a wireless network. Previous reviews/comments are only of value if understood in the context of the particular computer topology then facing the writer of that review/comment. And very few of them mention what their particular computer setup might have been. My setup was a Windows 7 computer connected directly to the B210 printer via a single USB cable. The below comments are made in that context. (2) The User Guide must be downloaded from Xerox. It is NOT included on the CD-ROM. On a scale of 1 to 10 (10 being "excellent"), I would rate the User Guide as a "2". It's organization is pathetic. There is no step-by-step installation/setup sequence. That information is scattered all over the User Guide. Explanations are often so brief as to give one only the slightest hint as to what one should do. Much of the content is misleading, confusing, and/or ambiguous. Some of it is flat wrong. Many concepts are repeated ad nauseum. And a bit of the necessary explanation is never to be found. (3) Nearly all of the files on the included-in-the-box CD-ROM are identical to the files included in the 93MB Windows "package" file downloadable from the Xerox website. However, setup.exe and 10 of the \bin\ files are newer in the download "package". I installed using the downloaded Windows file. (The Portuguese Safety, Regulatory, Recycling, and Disposal Reference Guide, however, is newer on the CD-ROM.) (4) Upon unpacking the box, the very first thing one needs to do is to figure out how to turn the printer on and off. This is because the Power On/Off button function is integrated with the Power Save feature and, given the various lights then lit on the Control Panel, it is impossible for a new user to figure out whether the printer is on, or off, or in Power Save mode. This can be figured out with the information at pages 27, 28, and 126 of the User Guide, but it is not obvious to the uninitiated. It took me somewhere between 30 minutes and an hour (after a failed install--see next paragraph) to find that information so I could know what the printer's status was from the various light patterns that were displayed at any point in time. (5) In order to install the software and drivers, the directions say that one must have the printer turned On. But the out-of-the-box, default setting for the entry into Power Save 1 mode is 1 minute, and the default setting for the entry into Power Save 2 mode is also 1 minute. After one failed install, I set up the install dialog to "Install" immediately after turning the printer On and arriving at "ready" mode, so as to give the install process as much time to work before the printer went into Power Save mode. That install was successful. After install, the Power Save 1 setting (but not the Power Save 2 setting) can be increased using Easy Printer Manager. (6) The implication given in the User Guide (pg 39 and elsewhere) is that one first "configures the settings" and then installs the drivers. That sequence, however, does not work because, in order to configure any of the settings, one must first install Easy Printer Manager and, when one installs only Easy Printer Manager without also installing the drivers, Easy Printer Manager is unable to find any printer, whose settings one could configure. And so, when you're ready to install, install Easy Printer Manager and any desired drivers. (7) The settings for the full configuration of the printer, software and drivers are located in Easy Printer Manager, which is a software program on one's computer, AND IN CentreWare Internet Services (CWIS), which is a set of web pages embedded into the printer's web server, physically inside the printer itself. In order to completely configure the printer to your desired setup, YOU MUST USE BOTH. While some settings exist in both locations, some settings exist only in Easy Printer Manager. And some settings exist only in CWIS. (Side note: If searching for CWIS in the User Guide, search for "entrefiare". I know not why, but that's what works.) (8) Easy Printer Manager is only briefly mentioned in the User Guide. For any explanation of its program functions, one is referred to its related Help program--which is utterly worthless. For example: "The Emulation sub-menu provides settings related to various printer emulation settings." That's all there is. Or, "The Layout sub-menu includes options related to page orientation and margin settings." Again, that's it. No explanation as to the functionality of all those various settings. Etc., etc. You'll figure it out. But don't waste your time with Help. (9) The printer has a function called "Wi-Fi Direct" and, if making a direct USB connection to the printer, can be used to access CWIS. One does not need any additional network setup. One does need wi-fi capability on their computer, and connects directly to the wi-fi signal broadcast by the printer. Wi-Fi Direct is disabled by default, but can be enabled from Easy Printer Manager. (Side note: If searching for "Wi-Fi Direct" in the User Guide, search for "fi direct". Looks like the hyphen prevents the search.) (10) Xerox support document 2108492 (which can be found by going to Xerox Customer Support and searching for that number) explains the process for accessing CentreWare Internet Services (CWIS), including if one's setup is a direct printer-to-computer connection via a USB cable. NOWHERE--that I have been able to find--is that information otherwise available. Using the steps listed therein, I was able to access CWIS and change any desired settings that exist only therein. It worked for me!!! (11) Many former reviews have complained of a default banner page that prints out with every print job. Support document 2108492 also explains the steps to take, to find that option and disable it. (Note: in my B210 printer, delivered 7/26/20, that setting, out-of-the-box, was "Disabled". Apparently Xerox has since figured out the error of its ways.) (12) Once at CWIS, set your desired Power Saver 1, Power Saver 2, and Auto-Power Off settings (User Guide pg 46) and CWIS Timeout settings (User Guide pg 168). One can also disable the auto-printing of the Configuration Report (aka Start-Up Report). (13) A couple of reviews mentioned that they were able to access CWIS only by using Google Chrome. Must have had something to do with the settings in those user's other browsers. I used Firefox 75 and it worked just fine. (14) In the Printing Preferences dialog (accessed in several ways), one is able to save sets of particular printer settings as "Favorites". The area of that dialog being discussed at pg 78 of the User Guide is the Favorites pane (and its two unidentified buttons) of the Paper sub-tab, which is found on four of the main tabs of the Printing Preferences dialog. "Save" is one of those unidentified buttons. ... show more
Reviewed in the United States on August 1, 2020 by Rich Lang

  • Here is how to set up the Xerox B210 printer (Windows 10)
You must connect the printer to your router with a cable to do the setup. There's no other way. Set up the printer and connect it to your router with a network cable. Plug it into your PC/Laptop with the provided USB cable. Install the drivers onto your PC, either from the provided disk or the Xerox support page. Launch the Xerox Easy Printer Manager application. Select the blue Printer banner, which probably says 0 printers connected. Add a printer. If your printer is not in the list, that's as far as I can help you. If it is in the list, select it and add it. Click on Advanced Settings -> Device Settings -> Network Settings. Click on the Wi-Fi Settings "Wizard" button" and connect it to your network. Go back to Add A Printer. Search and the printer will appear with an IP address. Add it. Select the newly added printer with the IP address from the list. There is now a grey box on the right side labeled CentreWare Internet Service. Click it to launch the web based configuration page. Please note that this page only works correctly with the Chrome web browser. If it launched in any other browser, copy the url and open it in Chrome. Everything you need is in the Properties tab. The banner pages can be turned off under Services -> Printing. The wireless can be set up under wireless. You may want to update your firmware while you are here. In the Properties tab under Maintenance. Turn on Allow Updating, and point it towards the update file you downloaded from the Xerox drivers page. I initially thought that the the wireless setup had to be re-done, with the printer hard wired to your router, if you unplug the printer for more than a minute or two. However, after further testing, I found that if it doesn't come back correctly after a reset/power loss, turning it off and on again with the power button appears to correct the issue and it will connect automatically. You should never have to press the APS button for it connect. Power off by holding the power button a few seconds, and power it back on. A note for anyone still using the outdated Windows 7 (I have a server I can't update yet...). You must get the newest drivers from xerox for this printer to work correctly with Win 7. But, you really shouldn't be using Win 7 anymore at all... This is a nice little printer with good qualities. The setup instructions are flat wrong, the setup software is archaic, the wireless connectivity has issues, and that's resulted in a lot of 1 star reviews. ... show more
Reviewed in the United States on June 24, 2020 by Tallest

Can't find a product?

Find it on Amazon first, then paste the link below.
Checking for best price...