
Buy Now, Pay Later
- – 6-month term
- – No impact on credit to apply
- – Instant approval decision
- – Secure and straightforward checkout
Ready to go? Add this product to your cart and select a plan during checkout.
Payment plans are offered through our trusted finance partners Klarna, Affirm, Afterpay, Apple Pay, and PayTomorrow. No-credit-needed leasing options through Acima may also be available at checkout.
Learn more about financing & leasing here.
Selected Option
Eligible for Return, Refund or Replacement within 30 days of receipt
To qualify for a full refund, items must be returned in their original, unused condition. If an item is returned in a used, damaged, or materially different state, you may be granted a partial refund.
To initiate a return, please visit our Returns Center.
View our full returns policy here.

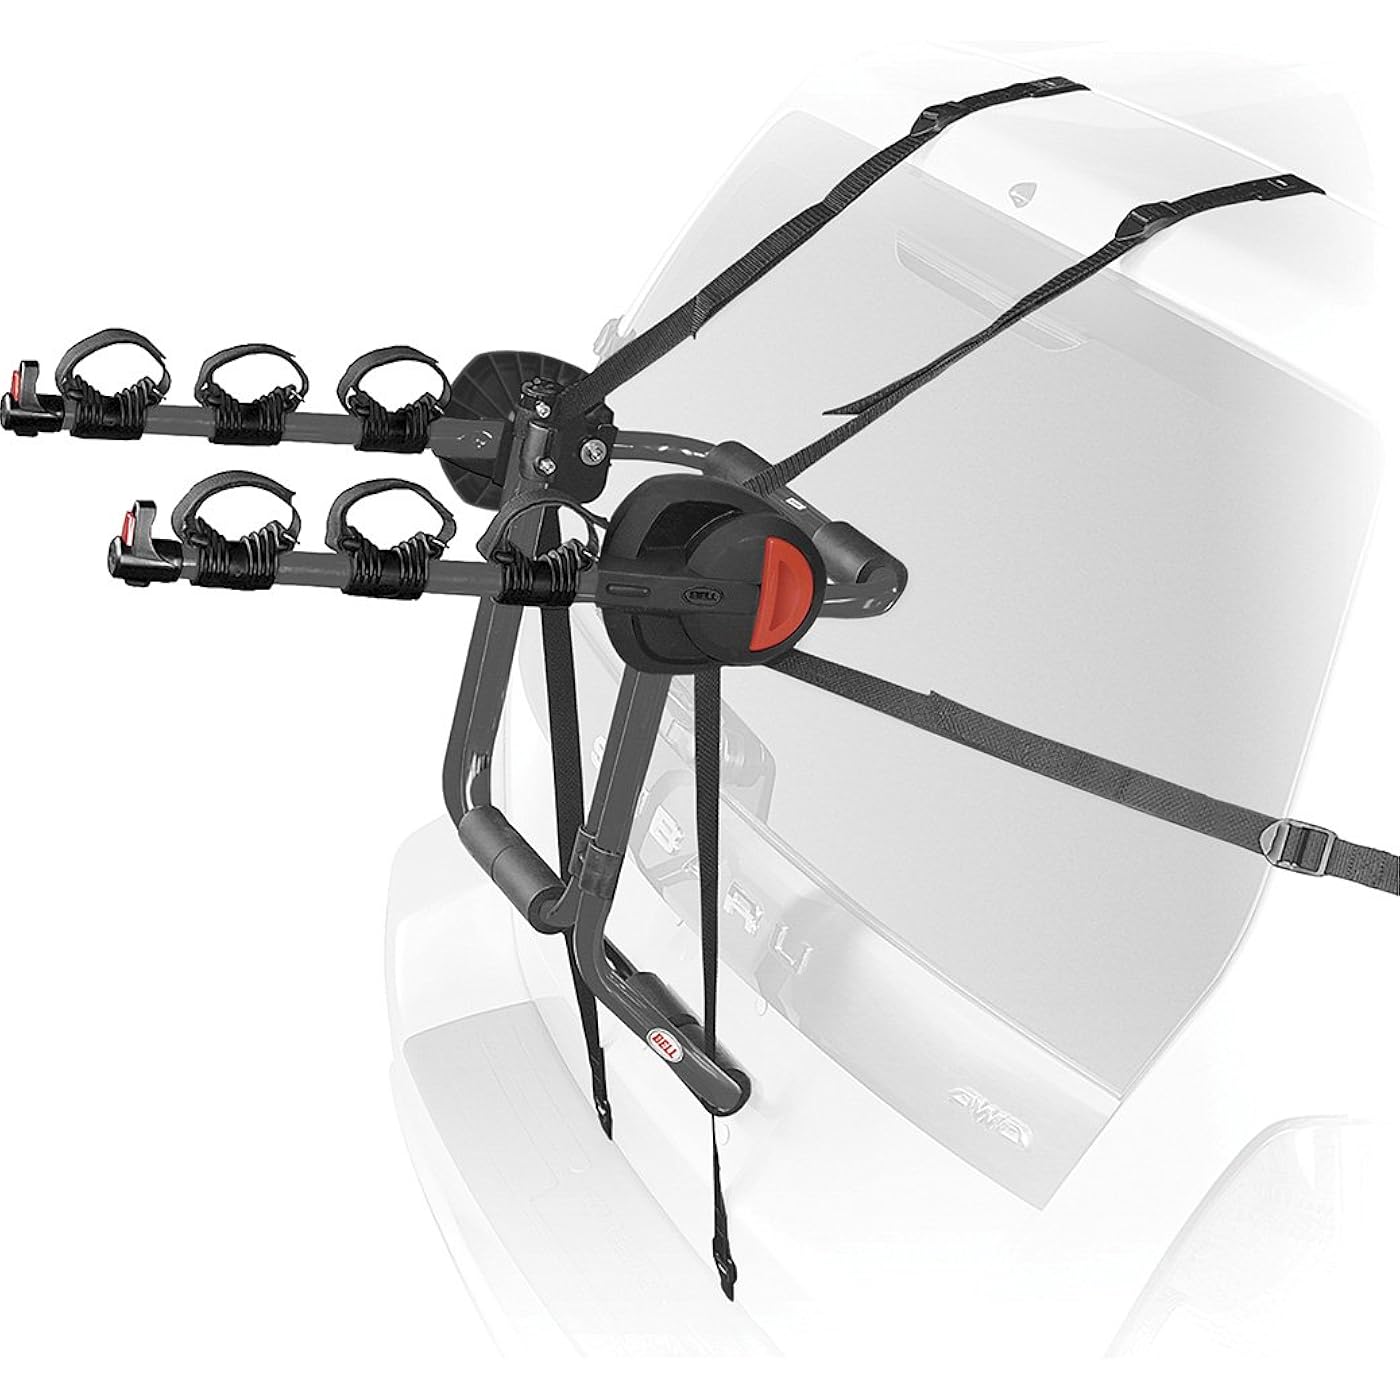
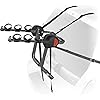
Pattern Name: Trunk Rack
Style: Cantilever 300 3-bike
Features
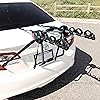
- Holds up to three bikes of all types with cradles
- Reflective red end caps increase visibility
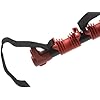
- Easiest, one step folding with hub
- Stable fit to all car styles with six straps
- No tool assembly, fit guarantee
Color: Black
Brand: BELL
Item Dimensions LxWxH: 7 x 18.5 x 28 inches
Is Foldable: Yes
Load Capacity: 105 Pounds
Mounting Type: Strap Mount,Trunk Rack
Item Package Dimensions L x W x H: 28.5 x 18.5 x 7 inches
Package Weight: 5.24 Kilograms
Item Dimensions LxWxH: 7 x 18.5 x 28 inches
Brand Name: BELL
Country of Origin: United States
Color: Black
Manufacturer: Bell Sports
Part Number: 7016046
Style: Cantilever 300 3-bike
Sport Type: Cycling
Date First Available: July 11, 2006
Frequently asked questions
To initiate a return, please visit our Returns Center.
View our full returns policy here.
- Klarna Financing
- Affirm Pay in 4
- Affirm Financing
- Afterpay Financing
- PayTomorrow Financing
- Financing through Apple Pay
Learn more about financing & leasing here.


