Search  for anything...

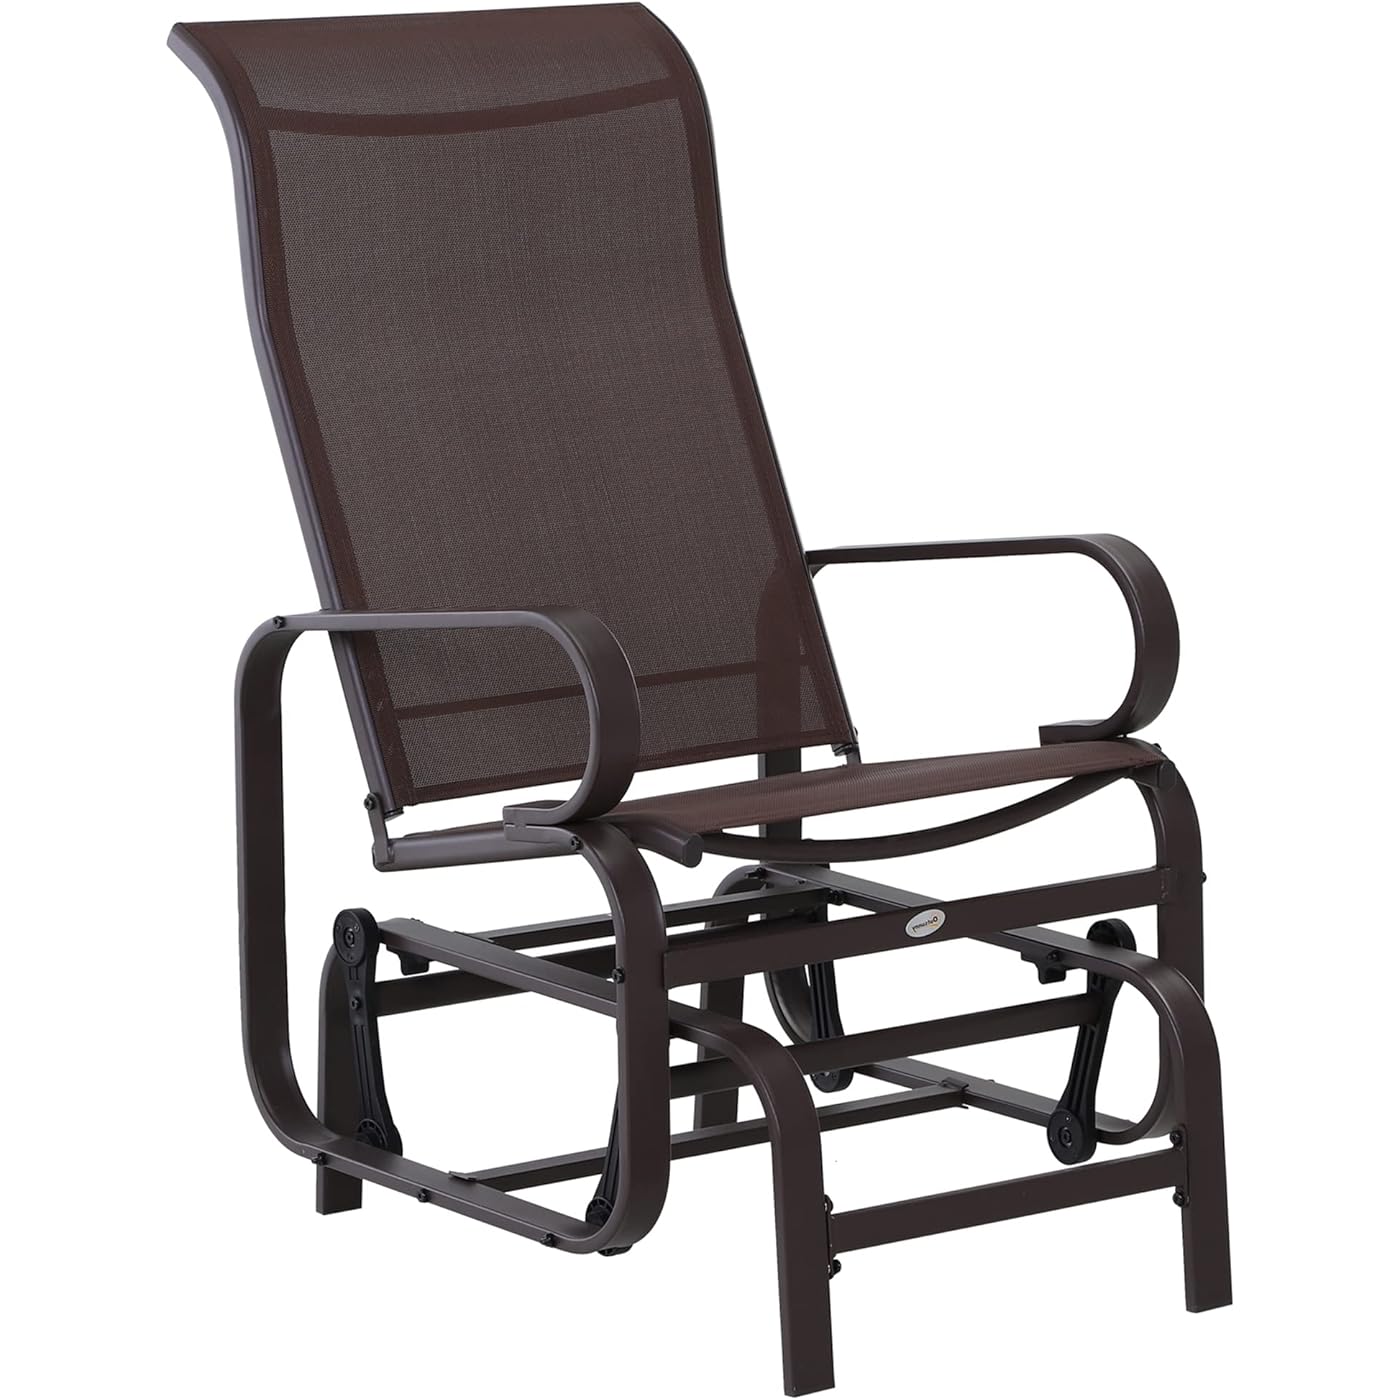
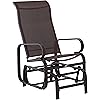
Outsunny Outdoor Glider Chair, Gliders for Outside Patio with Smooth Rocking Mechanism and Lightweight Construction for Backyard, Brown
  • Based on 158 reviews
Condition: New
Checking for the best price...

Buy Now, Pay Later


As low as $15.00 / mo
  • – 6-month term
  • – No impact on credit
  • – Instant approval decision
  • – Secure and straightforward checkout

Ready to go? Add this product to your cart and select a plan during checkout.

Payment plans are offered through our trusted finance partners Klarna, PayTomorrow, Affirm, Afterpay, Apple Pay, and PayPal. No-credit-needed leasing options through Acima may also be available at checkout.

Learn more about financing & leasing here.

Selected Option

Free shipping on this product

Eligible for Return, Refund or Replacement within 30 days of receipt

To qualify for a full refund, items must be returned in their original, unused condition. If an item is returned in a used, damaged, or materially different state, you may be granted a partial refund.

To initiate a return, please visit our Returns Center.

View our full returns policy here.


Availability: In Stock.
Fulfilled by Aosom Direct

Arrives Sunday, Sep 21
Order within 23 hours and 18 minutes
Available payment plans shown during checkout

Color: Brown


Features

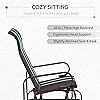
  • Cozy Glider Chair: Our single-person outdoor glider features a 28-inch-high backrest and ergonomically protruding neck support, providing your upper body extra comfort.
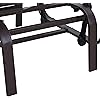
  • Smooth Rocker: The smooth rocking mechanism on our patio glider swings you quietly through the breeze. With metal treated to be heat and wear-resistant, our rocker offers outdoor comfort season after season.
  • Mesh Fabric: Our outdoor glider chair is built with breathable sling fabric that keeps you cool in the summer heat by letting in the wind. It's water resistant and quick to dry, too, meaning you won't have a long wait after rain.
  • Lightweight: If you prefer to read a book in the shade or take a nap in the sun, our glider chairs can adapt. A versatile outdoor seating option, our glider chairs are easy to carry with a thoughtful, lightweight build.
  • Heavy Duty: The strength of thick steel allows the frame of our porch glider to support up to 352 lbs. of weight without issue.

Brand: Outsunny


Color: Brown


Product Dimensions: 28.75"D x 23.5"W x 41.25"H


Size: 23.5" W x 29.5"D x 41"H


Back Style: Solid Back


Brand: Outsunny


Color: Brown


Product Dimensions: 28.75"D x 23.5"W x 41.25"H


Size: 23.5" W x 29.5"D x 41"H


Back Style: Solid Back


Special Feature: Water-resistant, Arm Rest, Ergonomic, Wear-resistant, Quick-drying


Product Care Instructions: Wipe Clean


Unit Count: 1 Count


Recommended Uses For Product: Relaxing


Maximum Weight Recommendation: 363 Pounds


Style: Modern


Pattern: Mesh


Finish Type: Lacquered


Room Type: Patio Garden


Age Range (Description): Adult


Included Components: Smooth Rocking Arms


Theme: Outdoor


Shape: Rectangular


Model Name: Gliding Chair


Arm Style: with-arms


Surface Recommendation: Hard Floor


Seat Back Interior Height: 28 Inches


Furniture base movement: Glide


Indoor/Outdoor Usage: Outdoor


Seat Height: 17.25 Inches


Seat Depth: 16.75 inches


Seat Length: 19.25 Inches


Tilting: No


Is Customizable: No


Is Electric: No


Is Foldable: No


Item Weight: 22 pounds


Department: Unisex Adult


Manufacturer: Aosom LLC


Country of Origin: China


Item model number: 84A-009BN


Date First Available: January 14, 2020


Frequently asked questions

If you place your order now, the estimated arrival date for this product is: Sunday, Sep 21

Yes, absolutely! You may return this product for a full refund within 30 days of receiving it.

To initiate a return, please visit our Returns Center.

View our full returns policy here.

  • Klarna Financing
  • Affirm Pay in 4
  • Affirm Financing
  • Afterpay Financing
  • PayTomorrow Financing
  • Financing through Apple Pay
Leasing options through Acima may also be available during checkout.

Learn more about financing & leasing here.

Top Amazon Reviews


  • Glider rocker chair
Color: Brown
Very comfortable, glides and rocks very easy. Good price. Hold heavy weight.
Reviewed in the United States on March 26, 2024 by sharon b.

  • FOLLOW THESE DETAILED INSTRUCTIONS TO BUILD YOUR CHAIR!
Color: Brown
I absolutely LOVE this glider chair!!! This glider fits your back perfectly, has a neck rest to cradle your head, has supportive arms, is comfortable on your legs, and rocks/glides so effortlessly and smoothly, like a dream! It's everything I ever wanted in an outdoor/porch rocking chair!! Many reviewers complained about the instructions, but we got through them ok, though the pictures were small. Also the picture of the chair on Amazon is ASSEMBLED BACKWARDS, so don't go by that picture!!! (The stabilizing bar between the base unit legs is supposed to go in the BACK, otherwise, your ankles will hit it - OUCH). So if you get this chair, which I highly recommend, SAVE THESE HELPFUL INSTRUCTIONS for when you put it together: Open the Instructions to the PARTS LIST and make sure all parts/tools were included (we had all the parts). PICTURE 01: Assemble half of the base. Lay one C-shaped base leg (B) down on a table with the holes that have the ridges around them facing up (this is easier than the way the picture shows with the legs standing up). Take one of the straight support bars that have T-shaped ends (E)(1) and align its holes with one of the ridged sets of holes on the base leg (B). Put an (O) ring on a short screw (K) and guide it through the support bar hole and into the base hole, tightening the screw with the little allen wrench (AA). Repeat with the other hole of the support bar (E)(1). Do the same thing with the second support bar (E)(2) into the other set of ridged set of holes on the base leg (B). PICTURE 02: Assemble the other half of the base. Lay the other C-shaped base leg (C) down on a table with the holes that have the ridges around them facing up. Align the support bars (E)(1) and (E)(2) to the mirrored holes on base leg (C), again putting an (O) ring on each short screw (K) and guiding them through the support bar holes and into the base holes, tightening all the screws with the allen wrench. (It is helpful if someone holds base leg (B) for you.) PICTURE 03 (A): Attach the glider swinging mechanisms. Set the completed base upright on its legs, with one of the sides facing you. Pick up a swinging mechanism (H) (looks like a little paddle). Hold it up vertically in front of you so that an indentation is at the top and a protrusion is at the bottom. HINT: the little hole in the arm of the paddle MUST be closer to the top. Now align the top of the paddle, indentation towards you, with one of the holes on the side of the base unit that is on the top portion near the curve. The paddle goes on the OUTSIDE of the base. Put a very long screw (N) through the indentation top of paddle, all the way through the side of the base until a little of the screw comes out on the inside of the base leg. Put an (O) ring and a nut (P) on that little bit of screw on the inside and tighten it (it helps to hold the nut still with a wrench and use the allen wrench on the screw head to tighten the screw into it). Repeat until all 4 paddles are screwed on to the OUTSIDE of the base, with the indentation at the top and the protrusion at the bottom, and the little hole on the arm closer to the top. PICTURE 03 (B): Connect together the front paddles, and then the back paddles. Place a connector bar (D)(1) in between the front two paddles (inside the base unit), aligning it to the little holes towards the top of the paddles. Install the connector bar so that it is tall, not wide. Put an (O) ring on a short screw (L) and guide it through the little hole on the OUTSIDE of the paddle and into one end of the connector bar, tightening the screw with the little allen wrench. Repeat with the other paddle on the front. Now do the same thing to connect the back two paddles with the other connector bar (D)(2). PICTURE 04: Connect ONE top/arm unit. IMPORTANT: with the base unit still set upright on its legs, the side facing you, place one of the top/arm units (A) against the outside of the base unit so that the indented curved portion is towards the front of the base unit (where the legs have an opening between them) and the opposite straight portion is towards the back of the base unit (where the legs are connected with a bar between them). (If you don't do this, the chair will be assembled backwards, like the Amazon picture shows!) Lift the top/arm unit up a few inches so that the holes in the bottom portion align with the protrusions on the bottom of the two side paddles. Put a very long screw (N) through the bottom of the paddle from the INSIDE of the base unit going OUT all the way through the holes of the bottom portion of the arm unit until a little of the screw comes out on the outside of the arm unit. Put an (O) ring and a nut (P) on that little bit of screw on the outside and tighten it (it helps to hold the nut still with a wrench and use the allen wrench on the screw head to tighten the screw into it). Repeat with the other paddle on that side. DO NOT ATTACH THE OTHER TOP/ARM UNIT TO THE OTHER PADDLES YET. PICTURE 05: Connect together the front of the top/arm units, and then the bottom of the top/arm units. FRONT: Align a connector bar (F)(1) to the hole on the inside of the top/arm unit below the curve under the indented area. Put an (O) ring on a long screw (M) and guide it into the hole on the outside of the arm unit into the connector bar (F)(1) and tighten. BOTTOM: Repeat by screwing the other connector bar (F)(2) to the bottom of the top/arm unit. Now, set the second top/arm unit (A) in place against the other side of the base, so the indented curved portion is towards the front of the base unit (mirroring the other arm). Lift the top/arm unit up a few inches so you can align it with both the front (F)(1) and bottom (F)(2) connector bars, and screw them together, as above. YOU WANT TO CONNECT THESE BARS BEFORE YOU CONNECT THE ARM UNIT TO THE LAST TWO PADDLES. Once connected, then align the bottom of the paddles with the bottom portion of the arm unit and screw them together just like you did on the other side. PICTURE 06 (A): Attach the chair (back). Place the back of the chair near the back of the base and inside of the arms. About 8" up from the seat, there are holes on the side supports of the chair back. Align these holes to the holes in the back curve of the arm unit. Put a long screw (N) into the outside of the arm unit until it goes through, then put a thick washer (J) onto the screw between the arm and the chair back, and then guide the screw through the hole of the chair back until it sticks out a little behind the chair. Put an (O) ring and a nut (P) on the end of the screw that sticks out and tighten it using a wrench and an allen wrench. Do the same on the other arm to the other side of the chair back. PICTURE 06 (B): Attach the chair (seat). Fold the seat of the chair down so the front of the seat is near the front of the arm unit, right at the indentation area. Put a long screw (N) through the outside of the arm unit, just below the indentation, put a thick washer (J) onto the screw between the arm and the chair seat, and then guide the screw through the hole of the chair seat until it sticks out a little underneath the seat. Put an (O) ring and a nut (P) on the end of the screw that sticks out and tighten it using a wrench and an allen wrench. Sorry, this is tricky because it is underneath the seat! Do the same on the other side of the chair seat, to the other arm. Now go back through and check all the screws, tightening if needed. Congratulations, your chair is done!!! This took me much longer to write than it did to assemble the chair (which only took about an hour), so I hope it really helps those who have difficulties with the instructions that came with the chair! ... show more
Reviewed in the United States on May 23, 2023 by Angela Valentine Angela Valentine

  • Comfortable
Color: Brown
I love my glider chair. It isn' t the easiest thing in the world to put together but it's d oable. Just take your time. The instructions are not the best but I'm sure the average person can figure them out. It's very sturdy and looks very nice.
Reviewed in the United States on November 25, 2023 by Larry

  • Comfortable chair once assembled
Color: Brown
These gliders are sturdy and comfortable We purchased a second one after trying the first and finding it comfy for our back deck The instructions were difficult to follow and consisted of a few very busy drawings the info was there but I missed little points which had me removing bolts adding a piece and redoing the bolts several times ... show more
Reviewed in the United States on March 25, 2024 by kek

  • Love this!
Color: Brown
Wasn't difficult to assemble, all parts present, looks great and so comfortable! Glides smoothly. Planning to purchase a 2nd chair. Very, very pleased with this item.
Reviewed in the United States on November 6, 2023 by Trish

  • Well made, smooth operation
Color: Brown
The assembly instructions were not the greatest. Just illustrations as to what goes where. Written instructions along with illustrations would help. Once it was together it is real solid and the gliding action is smooth. Great value for money. Cheers!
Reviewed in the United States on July 12, 2023 by Norm

  • Karen
Color: Brown
Wonderful chair. Now have two of them. A lot better than wicker. Will enjoy warm weather
Reviewed in the United States on March 7, 2024 by Karen

  • Missing parts (rocker leg) when shipped. Back of chair defective when manufactured.
Color: Brown
Ordered 2 of these chairs. First chair was fine. Assembled in an hour. Second chair was missing one of the legs. Came with 2 part "C"s instead of 1 "B" and 1 "C" Called company customer service on June 16th stating we needed the missing part "B". Was told it would be ordered from N.J. (case number 2657389). As of July 10, no part had been received Was told N.J. order was "canceled" and part would be ordered from another factory (TN) On July 17, was again told order was "canceled" and would again be reordered. Finally received missing part on July 24th. When assembling, discovered the back piece was defective (lower back support was not aligned in side holes at the factory and was wedged between fabric and side bars. Had to remove to avoid tearing fabric when sitting in chair). The second chair was obviously either a return from someone or never went through "quality control" to begin with.. First and Last time we will order a product from this company. ... show more
Reviewed in the United States on July 22, 2023 by Shirley Percy

Can't find a product?

Find it on Amazon first, then paste the link below.
Checking for best price...