MELLCOM 14'x20' Gazebo, Galvanized Steel Double Roof with Wood Grain Aluminum Frame, Outdoor Permanent Metal Pavilion with Curtains and Nettings for Patio, Backyard and Deck


Notify me when this product is back in stock
Buy Now, Pay Later
- – Up to 36-month term if approved
- – No impact on credit to apply
- – Instant approval decision
- – Secure and straightforward checkout
Payment plans are offered through our trusted finance partners Klarna, Affirm, Afterpay, Apple Pay, and PayTomorrow. No-credit-needed leasing options through Acima may also be available at checkout.
Learn more about financing & leasing here.
Selected Option
30-day refund/replacement
To qualify for a full refund, items must be returned in their original, unused condition. If an item is returned in a used, damaged, or materially different state, you may be granted a partial refund.
To initiate a return, please visit our Returns Center.
View our full returns policy here.
Recently Viewed


Color: Wood-Looking
Size: 14'x20'
Features
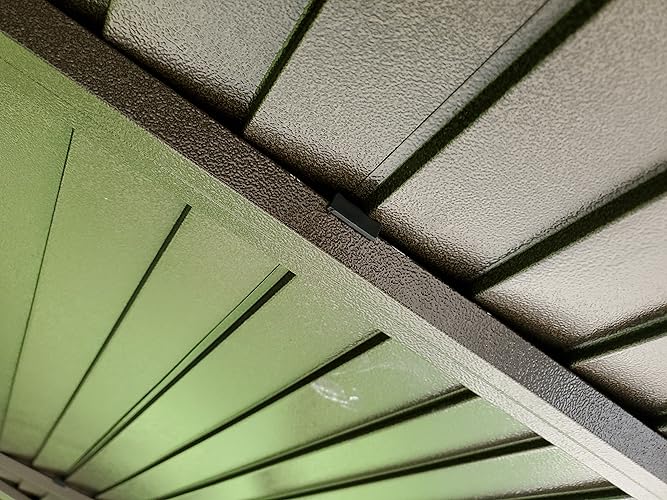
- Wood Grain Aluminum Frame: Euqipped with wood-looking powder coated, the real aluminum posts look like natural wood but are sturdy and durable enough for your outdoor use. The wooden-looking finish gazebo gives a natural feel that won't decay or crack like real wood or rust like the iron frame but last for many years
- Galvanized Steel Double Top: The steel gazebo with galvanized steel roof is fade-resistant, rust-resistant, sturdy enough to withstand heavy snow and wind, and can keep out bright light and harmful UV rays. The double-top design facilitates ventilation, cooling, and slowing down the wind speed
- Water Gutter Design: Professional drainage system design allows water to flow from the edge of the aluminum gazebo top into the pole and the ground, which can enhance the snow load and reduce troubles during the rainy or snow season
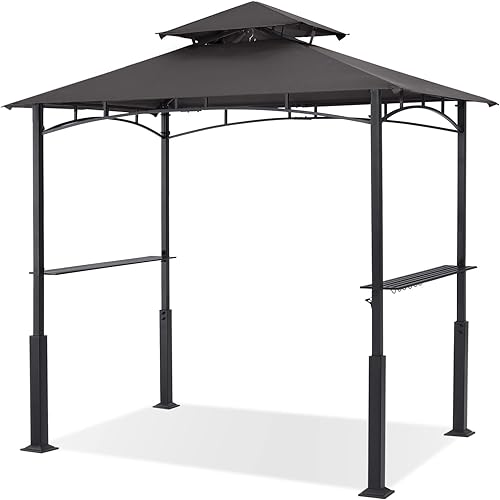
- Rustproof Aluminum Frame: Sturdy hardtop gazebo built with 4.8"x4.8" triangular wooden finish aluminum frames, which is more stable and antiseptic than standard others. The large gazebo with pre-drilled bases is designed for all kinds of uneven ground and can be installed in different outdoor situations
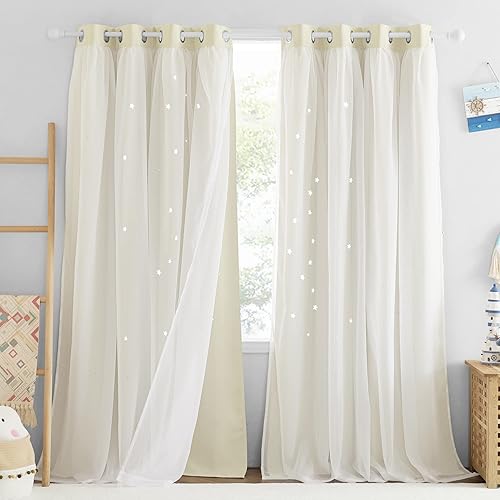
- Curtains, Nettings & Hooks: The double-track system of the 14' X 20' gazebo allows you to slide each layer with ease. Equipped with binding belt for each post to allow you to bundle any layer as you like. With "U" & "J" hooks on the top roof, you could hang up the lights and fans to enrich the gazebo
- Spacious Space: This wood-looking gazebo covers 280 square feet which allow your family and friends to enjoy the great outdoors on your patio, backyard, deck, etc. The wooden coated hardtop gazebo will come with 6 boxes and all necessary hardware and installation manuals. The installation will take approx. 6-8 hours for 4-6 people. If you have any questions, please feel free to contact us
Brand: MELLCOM
Material: Wood-Looking Frame
Style: Garden
Product Dimensions: 240"L x 168"W x 123.6"H
Item Weight: 502.4 Pounds
Frame Material: Aluminum
Water Resistance Level: Waterproof
Shape: Triangular
Ultraviolet Light Protection: Provides UV Protection
Assembly Required: Yes
Brand Name: MELLCOM
Manufacturer: MELLCOM
Unit Count: 1.0 Count
Item Dimensions L x W x H: 240"L x 168"W x 123.6"H
Item Weight: 502.4 Pounds
Floor Area: 280 Square Feet
Water Resistance Level: Waterproof
Ultraviolet Light Protection: Provides UV Protection
Occupancy: 8 person
Style Name: Garden
Shape: Triangular
Color: Wood-Looking
Material Type: Wood-Looking Frame
Frame Material: Aluminum
Required Assembly: Yes
Frequently asked questions
To initiate a return, please visit our Returns Center.
View our full returns policy here.
- Klarna Financing
- Affirm Pay in 4
- Affirm Financing
- Afterpay Financing
- PayTomorrow Financing
- Financing through Apple Pay
Learn more about financing & leasing here.
Similar Products


Top Amazon Reviews