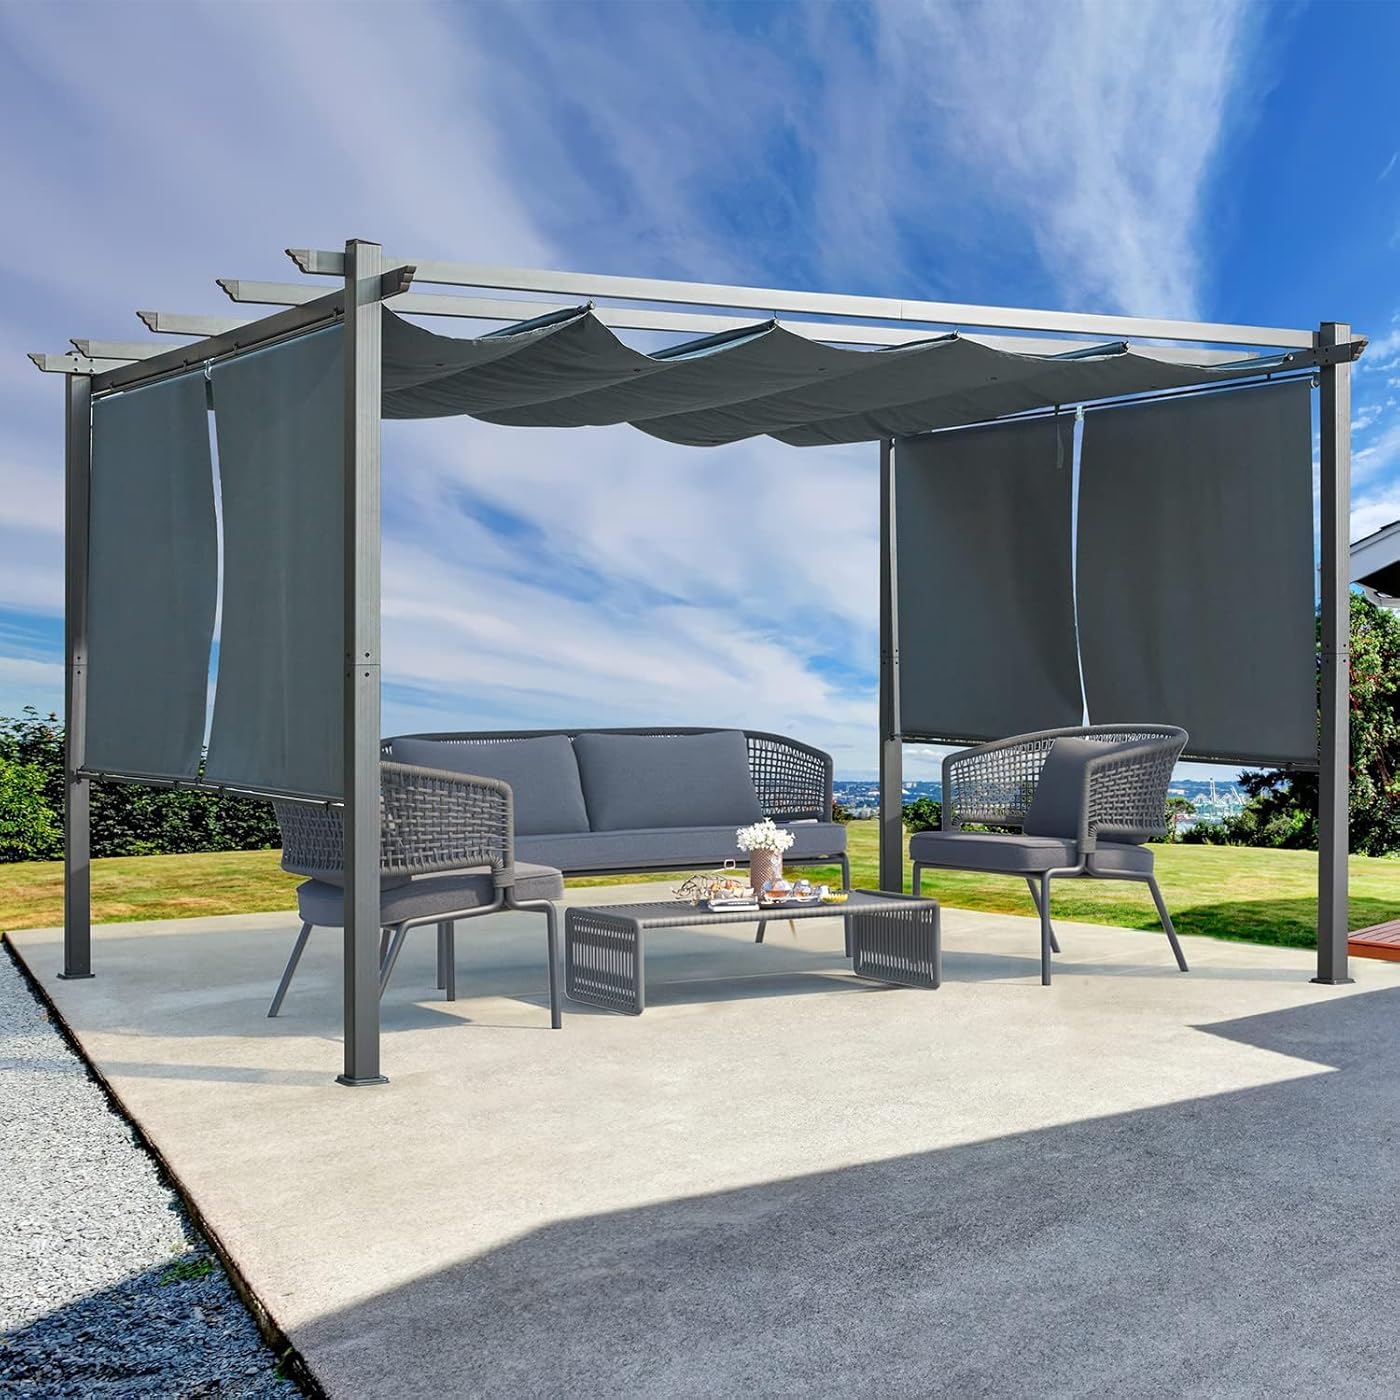
EROMMY Outdoor Pergola 10x13, Aluminum Pergola with Retractable Canopy and Adjustable 2 Side Shades, Retractable Roof Pergola for Patio, Garden, Deck, Grey
Notify me when this product is back in stock
Buy Now, Pay Later
- – Up to 36-month term if approved
- – No impact on credit
- – Instant approval decision
- – Secure and straightforward checkout
Payment plans are offered through our trusted finance partners Klarna, PayTomorrow, Affirm, Afterpay, Apple Pay, and PayPal. No-credit-needed leasing options through Acima may also be available at checkout.
Learn more about financing & leasing here.
Selected Option
30-day refund/replacement
To qualify for a full refund, items must be returned in their original, unused condition. If an item is returned in a used, damaged, or materially different state, you may be granted a partial refund.
To initiate a return, please visit our Returns Center.
View our full returns policy here.
Recently Viewed


Size: 10X13FT
Color: Gray
Features
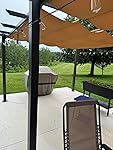
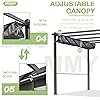
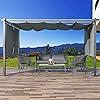
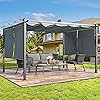
- Flexible Sunshade Control: Our outdoor pergola features a retractable canopy and adjustable 2-side sun shades. The canopy slides smoothly within the rails for easy adjustments. The side curtains are split into two sections, allowing you to adjust each one independently or together. Control sunlight from above and the sides, while also ensuring privacy, to create the perfect shade and enhance your outdoor experience.
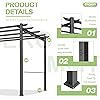
- Durable Aluminum Frame: The pergola with retractable canopy features a sturdy aluminum frame with 5 crossbeam tubes, all treated with powder coating to resist fading, scratching, and corrosion. Built to withstand various weather conditions, it ensures long-lasting performance. For added stability, we recommend using expansion bolts to securely anchor the pergola in place.
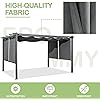
- Upgraded Fabric: The canopy of this aluminum pergola is made from durable polyester with a protective coating, offering wear resistance, waterproofing, and anti-fading. The fabric is also removable and washable for easy maintenance. Relax and enjoy your outdoor space, with the added benefit of UV protection that helps shield both you and your furniture.
- Spacious 10x13 Pergola: Offering 130 square feet of space, this modern-style retractable pergola is perfect for hosting gatherings and relaxing. The adjustable canopy and side curtains allow for sun control, creating the perfect shade and atmosphere. The freestanding pergola can be customized to fit your needs and seamlessly blend into any patio environment, creating a cozy outdoor space.
- Easy Assembly: The EROMMY pergolas come with all parts and clear instructions in one box. Just follow the step-by-step guide for quick and easy assembly. If you have any issues, contact uswe're committed to providing helpful support.
Brand: EROMMY
Material: Aluminum
Style: Modern
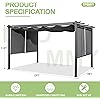
Product Dimensions: 156"L x 120"W x 87.6"H
Item Weight: 84.3 Pounds
Frame Material: Aluminum
Water Resistance Level: Waterproof
Shape: Rectangular
Ultraviolet Light Protection: Yes
Assembly Required: Yes
Brand: EROMMY
Material: Aluminum
Style: Modern
Product Dimensions: 156"L x 120"W x 87.6"H
Item Weight: 84.3 Pounds
Frame Material: Aluminum
Water Resistance Level: Waterproof
Shape: Rectangular
Ultraviolet Light Protection: Yes
Assembly Required: Yes
Occupancy: 8
Color: Gray
Manufacturer: EROMMY
Item Weight: 84.3 pounds
Country of Origin: China
Item model number: XWG152
Frequently asked questions
To initiate a return, please visit our Returns Center.
View our full returns policy here.
- Klarna Financing
- Affirm Pay in 4
- Affirm Financing
- Afterpay Financing
- PayTomorrow Financing
- Financing through Apple Pay
Learn more about financing & leasing here.
Similar Products


Top Amazon Reviews