Search  for anything...

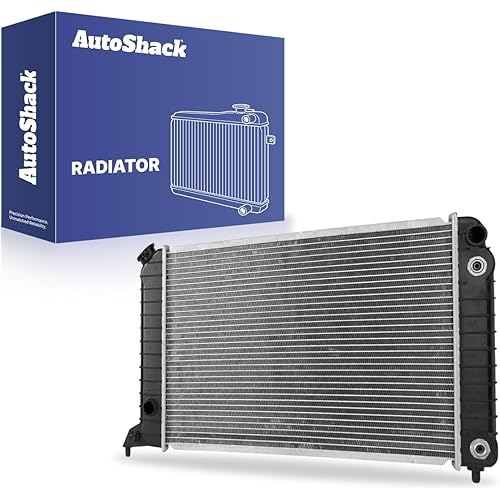
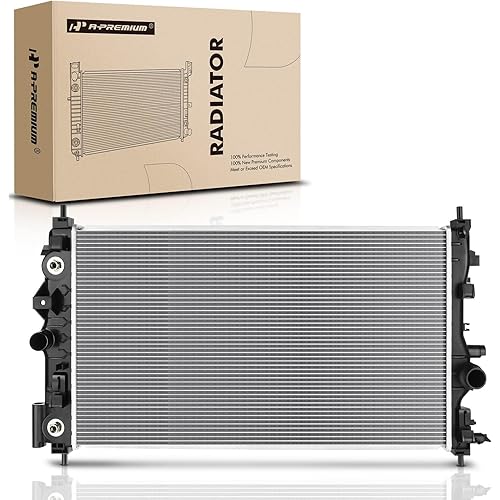
GM Genuine Parts 21499 Radiator

  • Based on 47 reviews
Condition: New
Checking for product changes
$168.99 Why this price?

Buy Now, Pay Later


As low as $28.17 / mo
  • – 6-month term
  • – No impact on credit
  • – Instant approval decision
  • – Secure and straightforward checkout

Ready to go? Add this product to your cart and select a plan during checkout.

Payment plans are offered through our trusted finance partners Klarna, PayTomorrow, Affirm, Afterpay, Apple Pay, and PayPal. No-credit-needed leasing options through Acima may also be available at checkout.

Learn more about financing & leasing here.

Free shipping on this product

This item is eligible for return within 30 days of receipt

To qualify for a full refund, items must be returned in their original, unused condition. If an item is returned in a used, damaged, or materially different state, you may be granted a partial refund.

To initiate a return, please visit our Returns Center.

View our full returns policy here.


Availability: Only 5 left in stock, order soon!
Fulfilled by Amazon

Arrives Sunday, Jul 13
Order within 19 hours and 54 minutes
Available payment plans shown during checkout

Features

  • leading manufacturer of high-quality products
  • international renown for our diverse range of award-winning products
  • fully equipped with state-of-the-art technology
  • all products have been designed with the professional in mind
  • constantly modernizing our powerful devices to meet the demands of the modern user
  • Fit type: Vehicle Specific

Description

ACDelco GM Original Equipment Radiators are GM-recommended replacements for your vehicles original components. Radiators are heat exchangers, typically located in the front of the vehicle where air can flow through the fins and dissipate heat. Modern radiators are made from aluminum and plastic, while older vehicles used copper and brass. These radiators are designed to be corrosion resistant with optimal heat transfer characteristics. These original equipment radiators have been manufactured to fit your GM vehicle, providing the same performance, durability, and service life you expect from General Motors.


Manufacturer: ‎ACDelco


Brand: ‎ACDelco


Model: ‎ACDelco - Radiator (Slp-P1) (21499)


Item Weight: ‎10.47 pounds


Product Dimensions: ‎38.3 x 25 x 7.3 inches


Country of Origin: ‎USA


Item model number: ‎21499


Manufacturer Part Number: ‎21499


OEM Part Number: ‎15193110


Date First Available: November 11, 2005


Frequently asked questions

If you place your order now, the estimated arrival date for this product is: Sunday, Jul 13

Yes, absolutely! You may return this product for a full refund within 30 days of receiving it.

To initiate a return, please visit our Returns Center.

View our full returns policy here.

  • Klarna Financing
  • Affirm Pay in 4
  • Affirm Financing
  • Afterpay Financing
  • PayTomorrow Financing
  • Financing through Apple Pay
Leasing options through Acima may also be available during checkout.

Learn more about financing & leasing here.

Top Amazon Reviews


  • Fit great for my 1999 GMC Sierra 1500
Bought this to replace the leaking OEM radiator in my 1999 GMC Sierra 1500. I try to use Original parts as much as possible due to the fact that they fit better and seem to work better. I researched this part to make sure that it was the correct one. I personally have never had the Amazon recommendations be incorrect, but I know it happens by reading the reviews here on Amazon. Do yourself a favor and make sure the part you're ordering actually fits your application. Only issue I had with this radiator is that it doesn't have a drain petcock in it. If you look at the photos of the part, it shows what appears to be the outlet for a petcock, but it is just molded into the side tank and is plugged. Not really a big deal, just something to be aware of before you buy. Part fit like I thought it would, also price dropped $25 right after I bought mine, so those that buy now are getting it for a much better price. ... show more
Reviewed in the United States on September 12, 2014 by J.E.F.

  • Perfect fit - 5 stars except for the omission of the drain cock - so deducted one. It's not 100% OEM without that!
Great product, exact fit, and as others have noted - does not have a drain cock. That threw me, as well. I expected it to. Other than that, easy job - if you have the original 2000 or so vehicle that this is a replacement radiator for. Here's a quick amatuer (not responsible for an errors, omissions or idiots) rundown of what I did. Not saying these are the right instructions - just how I did them. Start the vehicle if you can, allow to to warm up for just a couple of minutes - NOT hot - just until you can start to feel heat from the vents/heater core. Then shut the vehicle off. You don't want the coolant hot - but I've always found it seems to drain better if it's just slightly warm. Open the overflow reservoir cap, slowly and allow the system to de-pressurize. Next, put the drain hose into a container than can easily hold 2+ gallons of used coolant, then open the valve on the bottom left side of the radiator and allow the old coolant to drain. This will take a bit - so in the interim, remove the air intake hose from the air intake on top of the engine - give yourself some extra room to work. Then, remove the 8 or so plastic rivets holding the plastic cover over the radiator and hood latch. Pry the center pin out with small flat-blade screwdriver, pull up, and remove the entire rivet. Don't drop or lose any. Put the panel aside. Next, remove the same types of rivets from the outside edges of the fna shroud. Remove the two bolts holding the top half of the fan shroud, and lift the top half out of the engine bay and set aside. Raise the lower half until the support tabs disengage from the brackets on the back of the old radiator. Pay close attention to where those go, for reassembly. By now, your coolant should be mostly drained. I disconnected the upper radiator hose first, and raised it to allow any remaining coolant to flow down into the radiator and out the bottom. Next, remove the overflow connection hoses from the back passenger side of the radiator, as well as the smaller coolant sensor hose. These are all held on by spring clamps - channel locks or vise grips will be your friend for this. Now comes the fun part - disconnecting the silver transmission cooler hoses. These are held in place by little silver spring clips, and they are covered by a small plastic cap (yours may have cracked and fallen off?). Pop the caps loose and slide them back onto the hose. You'll need a flashlight or a good trouble light to be able to see the spring clips - they encircle the hose fitting, and are down in a little groove. You'll need a very tiny screwdriver (or in my case, I used a dental tool to 'hook' the spring). Pull it straight out, parallel to the fitting. It'll probably fly off and down into the engine bay. No worries. The new radiator has them already installed. Raise the ends of the hoses and tuck them back out of the way - there's several places to do this. You may also want to cap those off to prevent any dust/dirt from getting into the lines. I just covered mine with a clean shop towel. You may lose a little transmission fluid so don't forget to check the fluid level when you're done with the radiator. Next, remove the lower radiator hose. The radiator should be free of all hose connections now (unless you have an oil cooler and if that's the case, this is the wrong radiator for you :) ). Remove the two bolts at the top of the radiator, and put them aside. Next, simply lift the old radiator up, and slightly back - you may have to wiggle it a it if your bottom supports are still tight. You may have some coolant run out - it's normal. I tried to tip mine to the right to push any remaining coolant out the drain hose. Lift the radiator out of the engine bay. Now's a great time to flush your condenser (sits in front of the radiator) if you have A/C - from the back side of it. I also had a ton of leaves and other debris in the radiator support channel across the bottom of the engine bay, so I washed that up, as well. Best to get that stuff out while you can - no sense in something else there to hold in moisture and cause rust. Now...to the new radiator - move the drain hose from the old radiator to the new one. Yeah, I know - it serves no purpose, but the next radiator you buy may have the drain cock and you may need that hose! I also saved the old drain cock just in case. :) Now - I am a fanatic and cut down the box my radiator came in, and put a piece of cardboard over the fins, front and back, with painters tape to protect it during the install. Lift the new radiator and slowly, lower it into the engine bay, making sure the bottom supports drop into the support bracket. You may have to slide it left and/or right slightly to get it to seat. Once it's seated, remove the cardboard from the front of the radiator. I didn't need the cardboard, but better safe than sorry. Line up the bolt holes with the top mounts, and insert the radiator bolts. I did not tighten mine down at this point, just enough to hold the radiator in place, slightly snug. The rest is just a reversal of removal. Connect the bottom radiator hose, then the transmission cooler lines, by inserting the end of the silver tubes into the corresponding fitting. You should hear/feel a little 'snap' when they are seated - you will be able to wiggle the hose, but not pull it back out. Connect the remaining hoses. Once everything is connected, go ahead and snug down the top radiator mounts. Then, raise the lower half of the fan shroud up, and put the ends into the brackets on the back side of the radiator. Lower the top half of the shroud in place, and replace the plastic rivets - insert the rivet with the pin up/out. Once the rivet base is seated, press the pin down through the center to lock it into place. If the pin is completely out, make sure to align the groove in the pin with the notches in the rivet base. Otherwise, you'll break the rivet and then have to go buy some more. Once the fan shroud housing rivets are back in place, make sure the lower half is still seated in the mounting notches. If so, then go ahead and insert the shroud bolts through the housing and into the crossmember. Tighten snugly. I believe the radiator and fan shroud both are to be tightened to 9lb using a torque wrench. I just tightened them down snug but not insane-tight. Now, replace the plastic radiator and crossmember cover, using the plastic rivets. Refill the cooling system with adequate coolant/water mixture for your climate - mine uses a 50/50 ratio of Dexcool and distilled water. Lots of people don't like Dexcool. I don't have an issue with it - my truck has 207K miles on it and Dexcool has served it well. Once you've filled the coolant tank and it won't hold any more coolant, start the engine, put the heat on max and the fan on high. When you get back to the engine bay, the coolant tank will be empty or almost empty. Continue to add the coolant/water mixture until the level in the tank is half or slightly higher. You'll want to probably rev the engine up to 1500 or so RPMs and hold for a few seconds at a time - this helps push any remaining air out of the system, and give you an accurate tank level. Once it's stabilized at 1/2 a tank in the overflow reservoir, replace the cap. Check for leaks around all of the hose fittings, and especially around the transmission cooler fittings. If no leaks, let the engine idle until it's up to temp - 205 - 210F - and re-check for leaks. If none, check the transmission fluid and top up accordingly. I didn't need to.. but your experience may vary. Once that's done, road test for 2 or 3 miles, stop and check for leaks. If none, you should be all set. Just keep an eye on your coolant level and your engine temperature for the next several days until you're confident of no additional issues. Hope this helps. ... show more
Reviewed in the United States on March 26, 2017 by KenInCLT

  • Radiatior for 2004 GMC Sierra 1500
My truck was over heating at idle, I checked every component in the cooling system. Everything was good, 16 years original radiator which did not leak, after replacing it, my truck ran perfect. I live in the desert which gets over 120 degrees and my truck runs fine now. Turns out the lower 1/3 of the old radiator was clogged, I took the plastic sides off and discovered crud clogging the lower 1/3. ... show more
Reviewed in the United States on June 4, 2020 by jessica essary

  • Cool and no drama.
Got stuck in beach traffic.. A/C was on it was 96f. Truck ran cool even in severe traffic.. Everything was included and went in easy.. Cooling system like new .. Stick with O.EM.
Reviewed in the United States on July 28, 2020 by Robert Blakely

  • Hopefully this will be more durable.
Quick and easy install in a'99 Silverado LS with 5.3L. I paid a little more in hope that this radiator would last longer than the the less than 2 year life span of the cheap Chinese radiator that preceded it.
Reviewed in the United States on March 27, 2021 by Rick Nygren

  • Working with no leaks and engine staying cool.
Why no drain plug?
Reviewed in the United States on August 12, 2019 by nets

  • Good value.
Why didn't they put a drain plug in like the original? Otherwise, works just fine..
Reviewed in the United States on December 4, 2016 by typhooontom

  • It is quality, it is OEM
Did not have the drain valve like the origional.
Reviewed in the United States on August 18, 2020 by Shell

Can't find a product?

Find it on Amazon first, then paste the link below.