Wagner Spraytech 2419327 Control Spray QX5 HVLP Handheld Stain Sprayer, Ideal for Garages, Fences, Sheds and More


Buy Now, Pay Later
- – 6-month term
- – No impact on credit to apply
- – Instant approval decision
- – Secure and straightforward checkout
Ready to go? Add this product to your cart and select a plan during checkout.
Payment plans are offered through our trusted finance partners Klarna, Affirm, Afterpay, Apple Pay, and PayTomorrow. No-credit-needed leasing options through Acima may also be available at checkout.
Learn more about financing & leasing here.
Selected Option
30-day refund/replacement
To qualify for a full refund, items must be returned in their original, unused condition. If an item is returned in a used, damaged, or materially different state, you may be granted a partial refund.
To initiate a return, please visit our Returns Center.
View our full returns policy here.
Recently Viewed


Size: QX5
Features
- HVLP SPRAY GUN: The Control Spray QX5 sprayer applies coatings 5X faster than a brush, making it easy to spray medium sized projects like decks, fences, garages, sheds and more
- FASTER THAN A BRUSH OR ROLLER: This paint spray gun applies a smooth, consistent finish with no brush marks. It can easily spray a 6 x 8 area in 3 minutes to get your projects done more quickly
- USE WITH A WIDE VARIETY OF MATERIALS: Great for spraying transparent, semi-transparent, and solid stain, water based lacquer and latex paint (thinning may be required
- MULTIPLE ADJUSTABLE SETTINGS: Achieve the perfect flow for your project by adjusting the material flow control, spray width, and spray pattern (horizontal or vertical)
- EASY TO CLEAN: The sprayer has a few removable parts that rinse clean, allowing for easy clean up so youll be ready for your next project
Description
The Control Spray QX5 paint sprayer offers more control and efficiency than a brush or roller and applies coatings 5X faster than a brush. It’s great for spraying a smooth, consistent finish on medium sized projects such as garages, fences, outdoor furniture, sheds and more. It can stain an 8’ x 8’ area in less than a minute to quickly get your projects done! The spray gun also features multiple adjustable settings to suit your project and coating needs including an adjustable spray volume, spray pattern, spray width and variable paint flow. The sprayer has just a few removable parts that rinse clean so your sprayer is ready for the next project.
Brand: Wagner
Color: Yellow and Black
Recommended Uses For Product: Painting
Material: Plastic
Item Weight: 4.2 Pounds
Brand: Wagner
Color: Yellow and Black
Recommended Uses For Product: Painting
Material: Plastic
Item Weight: 4.2 Pounds
Product Dimensions: 9.25"W x 11"H
Style: HVLP Stain Sprayer
Power Source: ac
Included Components: Cleaning Brush, Control Spray QX5 Sprayer, Instruction Guide, Nozzle
Model Name: Control Spray
UPC: 024964298976
Global Trade Identification Number: 76
Manufacturer: Wagner Spraytech
Part Number: 2419327
Item Weight: 4.2 pounds
Item model number: 2419327
Size: QX5
Pattern: Painter
Item Package Quantity: 1
Special Features: High Volume, Low Pressure
Batteries Included?: No
Batteries Required?: No
Warranty Description: 1-year Limited Warranty
Date First Available: April 10, 2023
Frequently asked questions
To initiate a return, please visit our Returns Center.
View our full returns policy here.
- Klarna Financing
- Affirm Pay in 4
- Affirm Financing
- Afterpay Financing
- PayTomorrow Financing
- Financing through Apple Pay
Learn more about financing & leasing here.
Similar Products
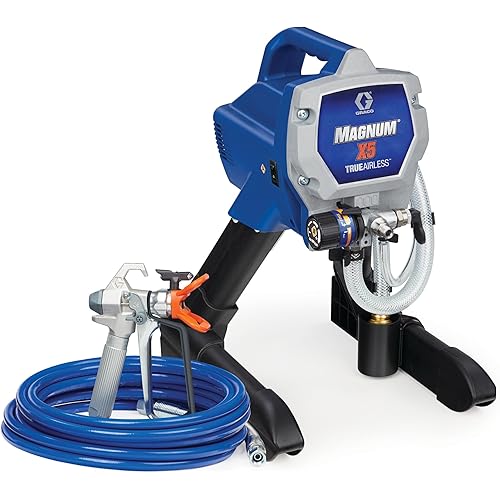

Graco Magnum 262805 X7 Cart Airless Paint Sprayer, Gray