
2 Packs-Apple Earbuds for iPhone Headphones Wired with Lightning Earphones [Apple MFi Certified] Built-in Microphone & Volume Control Headsets Compatible with iPhone 14/13/12/11/XR/XS/X/8/7/SE/Pro


Buy Now, Pay Later
- – 4-month term
- – No impact on credit to apply
- – Instant approval decision
- – Secure and straightforward checkout
Ready to go? Add this product to your cart and select a plan during checkout.
Payment plans are offered through our trusted finance partners Klarna, Affirm, Afterpay, Zip, Apple Pay, and Google Pay. No-credit-needed leasing options through Acima may also be available at checkout.
Learn more about financing & leasing here.
Selected Option
This item is eligible for return within 30 days of receipt
To qualify for a full refund, items must be returned in their original, unused condition. If an item is returned in a used, damaged, or materially different state, you may be granted a partial refund.
To initiate a return, please visit our Returns Center.
View our full returns policy here.
Recently Viewed


Color: White-LT2
Features
- Headphones Excellent CompatibilityCompatible with all lightning connector devices, built-in improvement chip. compatible with all devices with Lightning interface and support for all iOS system. The headset is compatible with iPhone 14/14Mini/14Pro/14Pro Max/13/13Mini/13Pro/13Pro Max/SE/12/12Mini/12Pro/12Pro Max/11/11 Pro/X/XS/XS Max/XR/8/8Plus/7/7Plus.
- Perfect Sound PerformanceThe speakers inside the earbuds have been engineered to maximize sound output and minimize sound loss, perfect stereo headphones with high quality drivers enables you experience natural clear and super enhanced bass sound.
- Remote Control & MicMicrophone earphones built-in microphone and keys controls to make your hands-free from your devices for calling, answering, rejecting and Ending call, the headset has a volume adjustment button, you can previous/next song, pause/play on the headphones.
- Comfortable DesignUltra-light ergonomic in-ear design adopts sturdy soundproof materials to minimize external noise while minimizing sound leakage, giving you clear sound. Reduce ambient noise and bring unparalleled audio experience. Very suitable for games and daily use (walking, office, sleeping, etc.).
- Wired Bluetooth HeadsetTo use this earphone, simply turn on the Bluetooth on your Phone or Pad and plug in the earphone to connect them. The earphone will automatically connect to your device within 2-8 seconds the next time you use it. Please note: This is a crucial first step that must be done.
Description
Earbuds
Model Name: RER-2
Color: White-LT2
Form Factor: In Ear
Connectivity Technology: Wired
Wireless Communication Technology: Bluetooth
Package Dimensions: 6.34 x 3.58 x 0.94 inches
Item Weight: 2.08 ounces
Item model number: RER-2
Date First Available: December 2, 2023
Manufacturer: YWJFTY
Frequently asked questions
To initiate a return, please visit our Returns Center.
View our full returns policy here.
- Klarna Financing
- Affirm Pay in 4
- Affirm Financing
- Afterpay Financing
- Zip Pay in 4
- Financing through Apple Pay
- Financing through Google Pay
Learn more about financing & leasing here.

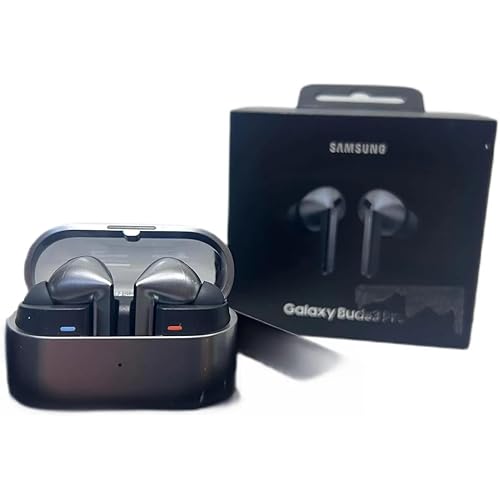


![Samsung Galaxy Buds 3 Pro AI True Wireless Bluetooth Earbuds, Noise Cancelling, Sound Optimization, Redesigned Comfort Fit, Silver [US Version, Amazon Exclusive, 2Yr Warranty]](https://m.media-amazon.com/images/I/61Mv3cWzZeL._AC_US500_.jpg)