Search  for anything...

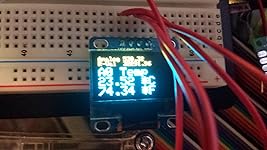
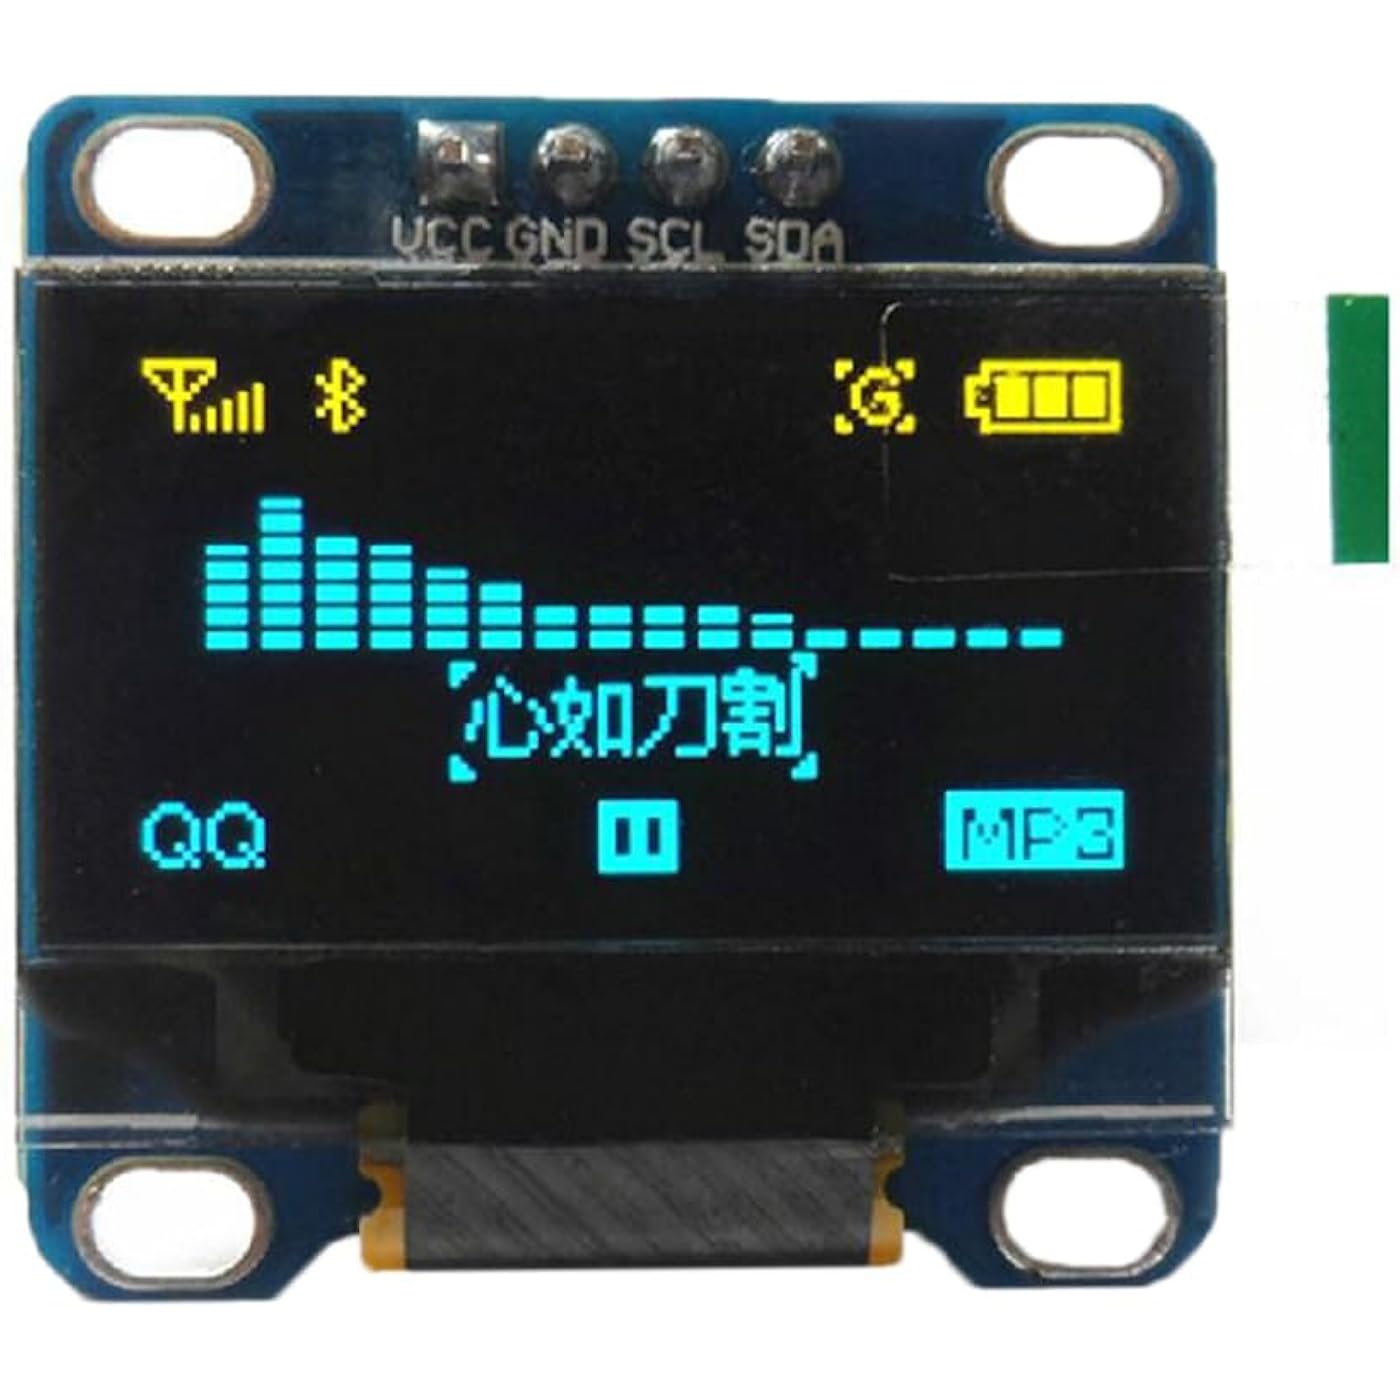
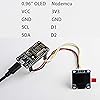
0.96" OLED Module 0.96 inch I2C IIC Serial 128X64 OLED Display Module SSD1306 Driver for Arduino 51 MSP420 STIM32 SCR Raspberry PI (1pc X Yellow&Blue)

  • Based on 508 reviews
Condition: New
Checking for the best price...

Buy Now, Pay Later


As low as $1 / mo
  • – 4-month term
  • – No impact on credit
  • – Instant approval decision
  • – Secure and straightforward checkout

Ready to go? Add this product to your cart and select a plan during checkout.

Payment plans are offered through our trusted finance partners Klarna, PayTomorrow, Affirm, Afterpay, Apple Pay, and PayPal. No-credit-needed leasing options through Acima may also be available at checkout.

Learn more about financing & leasing here.

Selected Option

Free shipping on this product

30-day refund/replacement

To qualify for a full refund, items must be returned in their original, unused condition. If an item is returned in a used, damaged, or materially different state, you may be granted a partial refund.

To initiate a return, please visit our Returns Center.

View our full returns policy here.


Availability: Only 5 left in stock, order soon!
Fulfilled by Amazon

Arrives Tuesday, Sep 30
Order within 16 hours and 44 minutes
Available payment plans shown during checkout

Color: 1pc X Yellow&Blue


Features

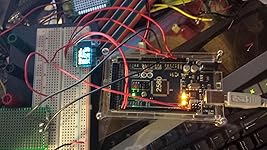
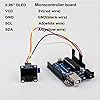
  • The screen is made in Taiwan, quality is much better. Compatible with MMDVM,Pi-Star, and it works with raspberry pi.
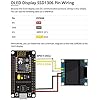
  • The IIC address can be changed, it is convenient to use with different machines
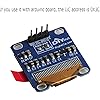
  • Four square holes are easy to install, and no need a pull-up resistor on the i2c lines from an arduino
  • What you will get is : 1 X 0.96inch oled module blue and yellow, any question please feel free to contact us

Connector Type: Through Hole Or Plug-in


Mounting Type: Panel Mount


Color: 1pc X Yellow&Blue


Brand: DIYmall


Voltage: 5 Volts


Product Dimensions: 0.96"W x 0.96"H


Upper Temperature Rating: 8E+1 Degrees Celsius


Manufacturer: DIYmall


UPC:


Connector Type: Through Hole Or Plug-in


Mounting Type: Panel Mount


Color: 1pc X Yellow&Blue


Brand: DIYmall


Voltage: 5 Volts


Product Dimensions: 0.96"W x 0.96"H


Upper Temperature Rating: 8E+1 Degrees Celsius


Manufacturer: DIYmall


UPC: 702795761080


Item Weight: 0.32 ounces


Item model number: 0.96 taiwan oled screen


Is Discontinued By Manufacturer: No


Date First Available: October 1, 2014


Frequently asked questions

If you place your order now, the estimated arrival date for this product is: Tuesday, Sep 30

Yes, absolutely! You may return this product for a full refund within 30 days of receiving it.

To initiate a return, please visit our Returns Center.

View our full returns policy here.

  • Klarna Financing
  • Affirm Pay in 4
  • Affirm Financing
  • Afterpay Financing
  • PayTomorrow Financing
  • Financing through Apple Pay
Leasing options through Acima may also be available during checkout.

Learn more about financing & leasing here.

Top Amazon Reviews


  • Great display
Color: 1pc X Yellow&Blue
Works well with a little reading. I found that you DID NOT have to adjust the header file and only need to initialize the display with display.begin(SSD1306_SWITCHCAPVCC, 0x3C); Worked on both an Uno and a Mega. Uno Pinout SDA - A4 SDL - A5 GND - GND VCC - 5v Mega Pinout SDA - 20 SDL - 21 GND - GND VCC - 5v The example code for the SSD1306 really starts to push the memory of the Uno, but the Mega has no issue loading the program. Because it is an OLED, it will look dead until it has been initialized, which can be a bit confusing when you are first testing the screen. I thought I had a dud until I got it correctly initialized. Had no issues with 3.3v or 5v. Tested with a 30k Thermistor. #include <SPI.h> #include <Wire.h> #include <Adafruit_GFX.h> #include <Adafruit_SSD1306.h> #define OLED_RESET 4 Adafruit_SSD1306 display(OLED_RESET); #if (SSD1306_LCDHEIGHT != 64) #error("Height incorrect, please fix Adafruit_SSD1306.h!"); #endif #define THERMISTORPIN A0 // which analog pin to connect #define THERMISTORNOMINAL 30000 // resistance at 25 degrees C #define TEMPERATURENOMINAL 25 // temp. for nominal resistance (almost always 25 C) #define NUMSAMPLES 50 // how many samples to take and average, more takes longer #define BCOEFFICIENT 4400 // The beta coefficient of the thermistor (usually 3000-4000) #define SERIESRESISTOR 30000 // the value of the 'other' resistor int samples[NUMSAMPLES]; void setup() { Serial.begin(9600); // connect AREF to 3.3V and use that as VCC, less noisy! analogReference(EXTERNAL); // by default, we'll generate the high voltage from the 3.3v line internally! (neat!) display.begin(SSD1306_SWITCHCAPVCC, 0x3C); // initialize with the I2C addr 0x3D (for the 128x64) // init done // Show image buffer on the display hardware. // Since the buffer is intialized with an Adafruit splashscreen // internally, this will display the splashscreen. display.display(); delay(250); // Clear the buffer. display.clearDisplay(); } void loop() { uint8_t i; float average; float maxTemp; maxTemp = 0; // take N samples in a row, with a slight delay for (i=0; i< NUMSAMPLES; i++) { samples[i] = analogRead(THERMISTORPIN); delay(10); } // average all the samples out average = 0; for (i=0; i< NUMSAMPLES; i++) { average += samples[i]; } average /= NUMSAMPLES; display.clearDisplay(); display.setTextSize(1); display.setTextColor(WHITE); display.setCursor(0,0); Serial.print("Analog "); Serial.println(average); display.print("Analog "); display.println(average); // convert the value to resistance average = 1023 / average - 1; average = SERIESRESISTOR / average; Serial.print("R "); Serial.println(average); display.print("R-Val "); display.println(average); display.setTextSize(2); float steinhart; float fconvert; float convertValue; steinhart = average / THERMISTORNOMINAL; // (R/Ro)2 steinhart = log(steinhart); // ln(R/Ro) steinhart /= BCOEFFICIENT; // 1/B * ln(R/Ro) steinhart += 1.0 / (TEMPERATURENOMINAL + 273.15); // + (1/To) steinhart = 1.0 / steinhart; // Invert steinhart -= 273.15; // convert to C Serial.print(steinhart); Serial.println(" *C"); fconvert = steinhart * 1.8; fconvert = fconvert + 32; Serial.print("Temperature "); display.println("A0 Temp"); Serial.print(fconvert); Serial.println(" *F"); display.print(steinhart); display.println(" *C"); display.print(fconvert); display.println(" *F"); display.display(); delay(250); } ... show more
Reviewed in the United States on August 13, 2015 by Chrispy Chrispy

  • Great, inexpensive little display.
Color: 1pc X White
These are inexpensive and beautiful - I've used them in many projects. Note that the default address for arduino is 0x3C (7-bit. More Below). If left on constantly, there can be some "burn-in" manifested as the most-illuminated pixels becoming a bit dimmer, but A) they're inexpensive enough to replace occasionally B) still perfectly legible with burn-in. In response to some reviews questioning the resolution - I've ordered several and I can assure you they are all 128x64 - just make sure you Open the adafruit library and change the display definition to 128x64. The adafruit library works great with this display, but it's designed to work with their products, and the documentation is for their implementation. Make sure this line is uncommented, line 73 in Adafruit_SSD1306.h "#define SSD1306_128_64" there are three define lines for other sizes below, make sure those are commented out and you'll get a framebuffer that uses the whole display! As for the discrepancy with the address on the back, 0x78 in 8-bit is the same address in 0x3C in 7-bit. (0x78 in binary is 1111000, 0x3C is 111100 - the last bit of the address is the "read/write" bit, which most vendors feel should be omitted from the slave address specification, but some, for whatever reason, list the whole 8 bits. The arduino Wire library expects a 7-bit address. The full intricacies of i2c addressing are beyond the scope of an amazon comment, but I encourage you to dig deeper!) Note in the library "// Address for 128x64 is 0x3D (default) or 0x3C (if SA0 is grounded)" - so these boards are grounding the Select Address 0 pin on the SSD1306. You could change the address of the display, if you wanted to use two for example, by changing the position of that jumper with the address label (requires desoldering and resoldering). This would unground the SA0 pin and restore the chip to listening on it's default address. 0x7A, incidentally, is the 8 bit equivalency of the 7 bit address 0x3D. ... show more
Reviewed in the United States on August 9, 2018 by Jon H.

Can't find a product?

Find it on Amazon first, then paste the link below.
Checking for best price...