Search  for anything...

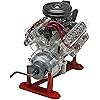
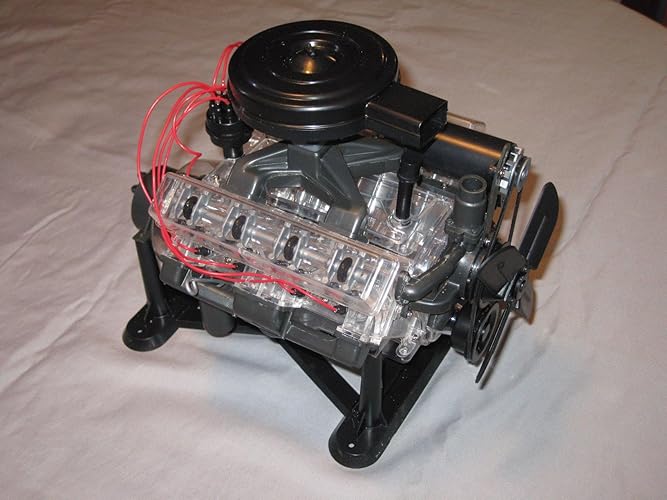
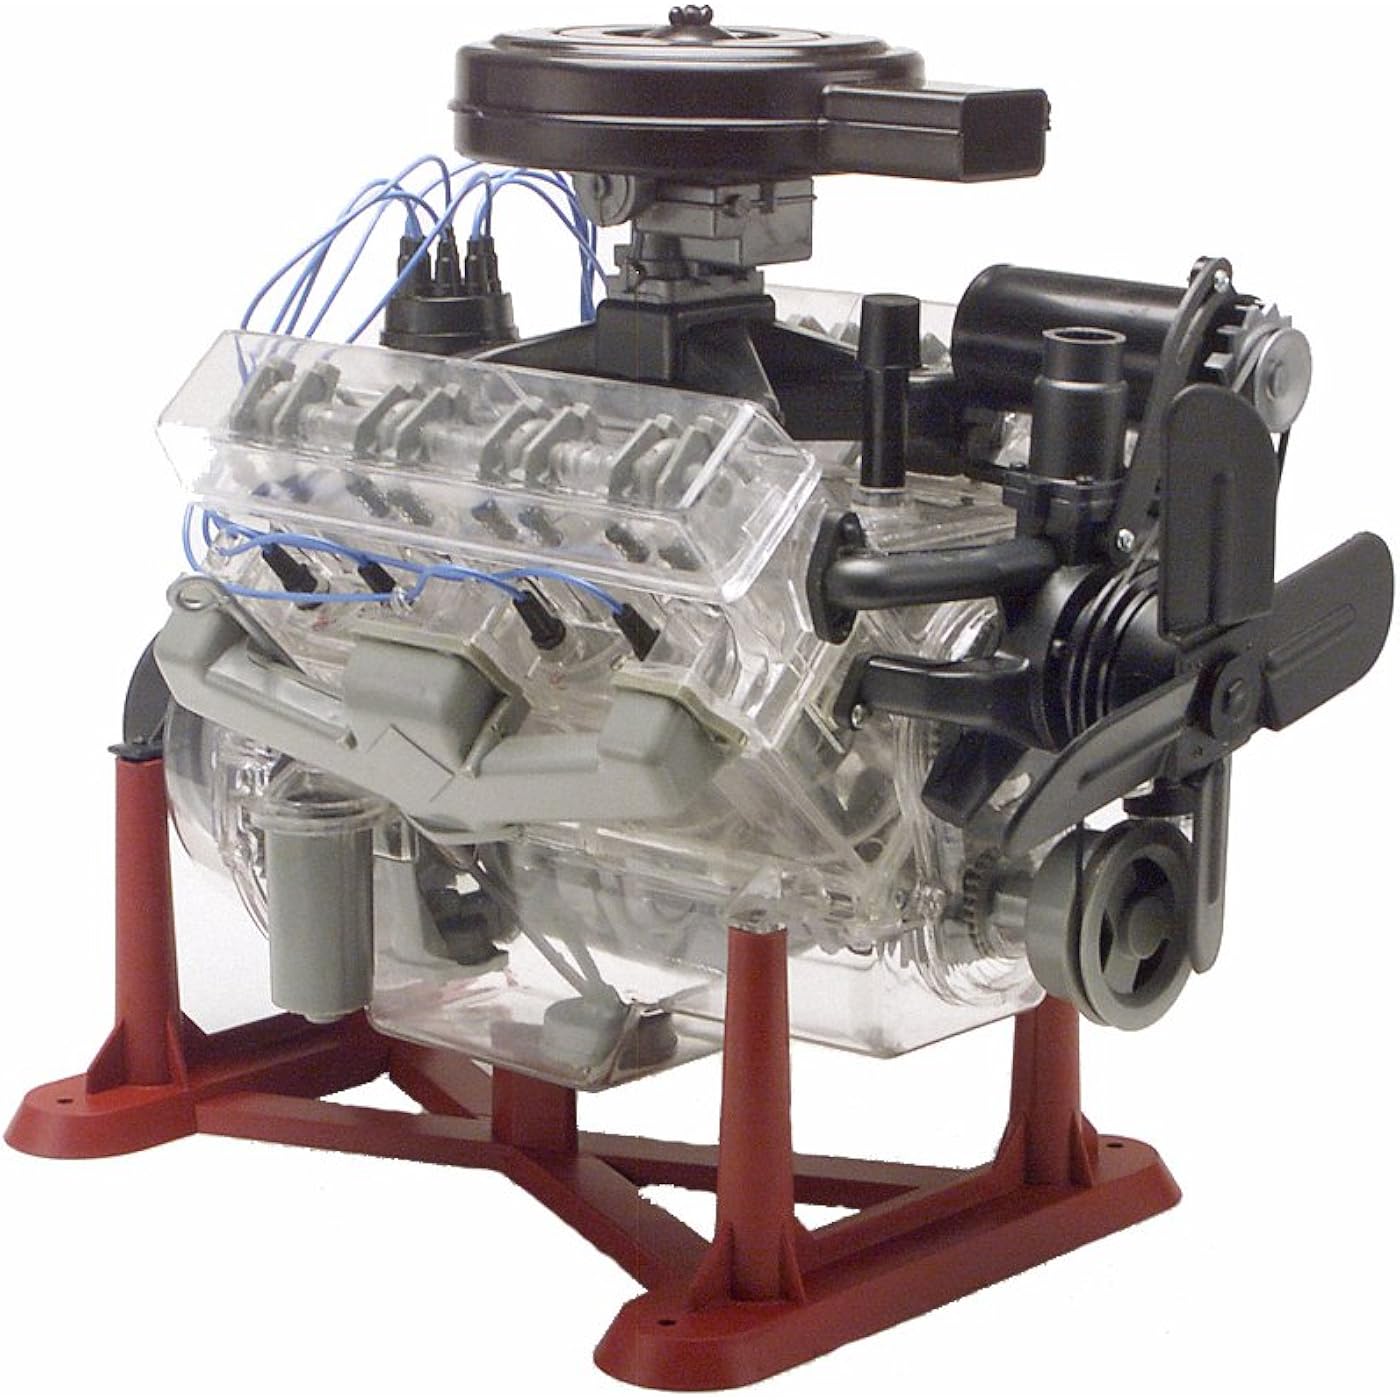
Revell 85-8883 Visible V8 Engine Model Kit 1:4 Scale 314-Piece Skill Level 5 Plastic Model Building Kit
  • Based on 999 reviews
Condition: New
Checking for the best price...
$99.99 Why this price?
Save $30.00 was $129.99

Buy Now, Pay Later


As low as $16.67 / mo
  • – 6-month term
  • – No impact on credit to apply
  • – Instant approval decision
  • – Secure and straightforward checkout

Ready to go? Add this product to your cart and select a plan during checkout.

Payment plans are offered through our trusted finance partners Klarna, Affirm, Afterpay, Zip, Apple Pay, and Google Pay. No-credit-needed leasing options through Acima may also be available at checkout.

Learn more about financing & leasing here.

Free shipping on this product

FREE 30-day refund/replacement

To qualify for a full refund, items must be returned in their original, unused condition. If an item is returned in a used, damaged, or materially different state, you may be granted a partial refund.

To initiate a return, please visit our Returns Center.

View our full returns policy here.


Availability: 14 left in stock
Fulfilled by Amazon

Arrives Tuesday, Jul 28
Order within 17 hours and 35 minutes
Available payment plans shown during checkout

Protection Plan Protect Your Purchase
Checking for protection plans...

Features

  • Revell Plastic Model Engine Kit #85-8883 is skill level 5 and contains 314 parts. Recommended for ages 13 and up.
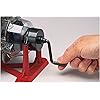
  • Hand crank moves pistons
  • Includes display stand
  • Model scale 1:4
  • Illustrated assembly instructions

Description

132511 Features: -Hand crank moves pistons. -Rubber fan belt with vinyl ignition wires. -Camshaft rocker arms and valves. -No batteries required. Color: -Multi-Colored. Age Range: -12 Years and Up. Generic Dimensions: -22.2" H x 16.6" W x 4.59" D, 3.6 lbs. Dimensions: Overall Height - Top to Bottom: -22.2 Inches. Overall Width - Side to Side: -16.6 Inches. Overall Depth - Front to Back: -4.59 Inches. Overall Product Weight: -3.6 Pounds.

Brand: Revell


Age Range (Description): 13 years old and up


Color: Multi


Theme: Building, Model Cars, Model Kits


Item dimensions L x W x H: 14.88 x 20.63 x 10.25 inches


Brand Name: Revell


Age Range Description: 13 years old and up


Included Components: Instruction Guide, Plastic Model Visible V-8 Engine Kit


Model Name: Visible V8 Engine Model Kit 14 Scale


Art Craft Kit Type: Plastic Model Kit


UPC: 787799942581 658109666315 031445088834


Global Trade Identification Number: 34


Manufacturer: Revell


Manufacturer Part Number: RVM8883


Model Number: RVM8883


Color: Multi


Theme: Building, Model Cars, Model Kits


Seasons: All Seasons


Product Style: Box


Subject Character: Automotive Engine


Item Dimensions: 14.88 x 20.63 x 10.25 inches


Item Weight: 8.2 Grams


Size: Small


Number of Pieces: 314


Material Type: Plastic


Frequently asked questions

If you place your order now, the estimated arrival date for this product is: Tuesday, Jul 28

Yes, absolutely! You may return this product for a full refund within 30 days of receiving it.

To initiate a return, please visit our Returns Center.

View our full returns policy here.

  • Klarna Financing
  • Affirm Pay in 4
  • Affirm Financing
  • Afterpay Financing
  • Zip Pay in 4
  • Financing through Apple Pay
  • Financing through Google Pay
Leasing options through Acima may also be available during checkout.

Learn more about financing & leasing here.

Top Amazon Reviews


  • You'll need patience and epoxy
This is the OG of model engines. Great kit but not for the novice.
Reviewed in the United States on February 14, 2026 by brian d.

  • Fun to Build Fun to Build
I’m an old retired mechanic. I have been wanting to build one of these for a long time. I finally got the time to do it. I was very patient. I spent the first day, (about 6 hours) just trimming parts and looking through the directions. It took another 3 days, or so, to complete. Some pieces MUST be allowed to dry thoroughly before proceeding. Most of the parts fit very well. However, some pieces need to be ‘shifted/pushed’. Its wise to pre-fit, and understand how everything is going together, and, some temporary assembly is also helpful. The finished engine looks very good, with some mis-alignment where the water pump matches up with the heads; mostly caused by slight warpage in a front clear piece. Its minor to me. The box recommends paint. But I think that is an error. This model looks great without painting. Instead of adding detail and realism, I believe painting just distracts from the purpose of this model. (Having said that, there are exceptions. Some of the pictures other builders have uploaded, are impressive.) I used Canola vegetable oil, It seems to be working fine. You really need to be careful to clean the oil off the end of the rocker arm shaft, before gluing the cap on. And then work that closest rocker arm back and forth, to be sure no glue is stuck to it. (OR, just lubricate it after gluing.) DON”T apply oil to the cylinder walls. It is not necessary, as the pistons are a loose fit. The oil will just cloud up the view. I used Testors Clear Parts Cement where it said to use epoxy. I think the clear parts glue worked very well. It takes longer to dry, but it also gives you time to clean any glue from the threads, and you can even install the screw, and tighten the nut into the hole, getting it perfected centered. AND, it dries clear. The screws and nuts in my kit were nearly perfect. The sole exception was putting the screw through the generator bracket into the thermostat housing. I had to enlarge the hole opening a little bit, then it worked. It is a copy of an old small block Chevrolet. (Although, you can modify it to look like other engines.) If you assemble it correctly, the valves and pistons are in correct ‘time’. HOWEVER…some fool put the rotation direction on the bell housing pointing in the wrong direction. The engine actually turns clockwise…looking at it from the front. (The same as a real engine.) It doesn’t hurt to turn the wrong direction, its just that the valves work backwards then. It has great detail, and a lot of parts. I actually would have liked to have seen even more detail. Such as, a timing chain, camshaft bearings, a rotating distributor shaft, and a clear distributor cap. They also need to include spark plug wire looms. My pictures do not show them, but I have some split wire wraps on the way from Amazon. That should make the wires look better. Interestingly, if you build this correctly, some of the important items can be disassembled. You can add oil to the parts, or even swap out pistons, heads, etc. I don’t really see this as a great father/son project. This is a model you will need to concentrate on. (I believe this is the same, or very similar to a model engine that I tried to build 45 years ago…and failed. If my memory is correct, I gave up after messing up installing the nuts. I had them crooked, with glue in the threads. But, back then, we didn’t blame others, for our own failures, like I see many reviewers here doing.) ... show more
Reviewed in the United States on January 28, 2017 Reviewed in the United States on January 28, 2017 by DavidTN

  • Not the Best Quality in a Model, but Your Only Choice
I've built 4 of these visible V8 models in my lifetime--my first at age 12 with my Dad's help. As this is the only visible V8 model out there, your choices unfortunately are either (a) not to have one or (b) put up with the horrible cost cutting done by the manufacturer on what really is a 50 year old kit design. Because it is now made in China (surprise surprise) the kit is supplied with metric fasteners, which do not fit well and cause all sorts of problems with assembly. Buy the standard 2-56 hardware and save yourself a headache (see below). With that said, this model really has great potential, if you are the kind of modeler (i.e. proficient enough) to do some fine tuning & finishing. You can pull this out of the box, glue it together and it *might* be just fine, but more than likely it will have binding parts, won't crank smoothly, or some part will break internally. The cam shaft drive gears are notorious for snapping on these after only a couple hours, rendering the finely built valvetrain inoperative. To get around the kit's shortcomings and make it more fun & reliable, here is what you do: 1) Carefully trim and debur EACH piece after removal from the mold sprues. Particularly rotating pieces, valves and pistons. I even go so far as to finely sand & polish the pistons & crank after gluing them together to get rid of the parting lines & flashing. 2) Spend the $15 on McMaster-Carr and buy a box each of the following: 2-56 nuts, 2-56 x 1/4" screws, 2-56 x 1/2" screws (they typically travel in boxes of 50, but you only need 34, 14, and 20, respectively). 3) Pay CLOSE attention to the assembly details; it is easy to mistake the pieces and put the cylinder heads together backward (and/or put them on the wrong side of the engine). 4) Buy some Labelle oil (or comparable) that is safe for plastics and pre-lube the internal assembly as you put it together. Also get a bottle of model cement for window plastic; it will reduce the risk you cloud any of the clear plastic during assembly. I have built a couple of these for displays for people with hidden geardrive motors under a base, and they can be made to look great and be reliable...if you are comfortable accepting that this is not your typical Saturday morning breeze-to-assemble Tamiya model kit. (Tamiya & similar high quality kits have wonderfully spoiled us modelers for years). ... show more
Reviewed in the United States on June 22, 2012 by wreathandcrest

  • Really nice little V8 engine
This is a skill level three kit, age 12+ years. Younger children may be ok with adult supervision. This kit will fit together if you take your time. It does not just snap together. Styrene Glue, epoxy, a small file set and a sandpaper assortment is required. You must trim the flash, file down the ejection pin marks and dry fit each part before gluing. If you are skill level three, then of course you already know this. If you have built plastic model cars or planes before, then this kit should be no problem. If you are looking for a simple kit that can be put together in a afternoon, this is not it. Allow a few days of off and on work to finish. I got my first Visible V8 as a Christmas present in 1961. I have built five Visible V8s since and I am working on #6 now. There is a DVD available that gives step by step instructions for building the Visible V8 on E ---, if needed, however with some time and effort, these kits become a nice little model to show to all your friends. Please remember, this is a scale model and not a toy for little kids to play with, even though it is listed as a toy on Amazon. The Visible V8 is a great educational tool for that young future auto mechanic or engineer. Important product update: May 31 2010. Do NOT use vegetable oil to lubricate your Visible V8 as the instructions tell you to do. Soybean oil will destroy your Visible V8. Unsure about other types of vegetable oil at this time. I would use Labelle plastic safe oil available from Labelle lubricants until a different type of oil can be found that does not melt the plastic used in the Visible V8. ... show more
Reviewed in the United States on November 16, 2009 by Newton

  • V8 engine build
Fun build
Reviewed in the United States on March 11, 2026 by WM

  • It works but you have to be prepared to rework plastic and screws
This is a clever model - it's a great way to demonstrate how an engine works. You know by now the issues with the screws and plastics from other reviewers, but here's my experience. Instructions - They start off very well but in the end they forget to tell you that glue is required here and there. In the end it's obvious though. Don't jump ahead pages and you should be fine. Screws: Yep these are a hassle - they are too short to grab the recessed nuts in places. To remedy this I needed to shave the plastics down in spots. If you are finicky about the look of your model you might start crying at this point wishing you'd bought the imperial screws to replace the metric ones supplied. Nuts: - they are too tall where fitted at the tops of the cylinders. No big deal BUT they are OVERSIZED to fit everywhere else. I remedied this by grabbing them with vice-grips and rubbing each of the 6 sides on a metal file. This is not really a party killer - i didn't mind. Moldings: This is a major problem. As per previous reviewers it is clear that the mould tools at the manufacturer are worn. This is evident with the plastic spill (flash) on many of the pieces. This requires endless trimming - sometimes you don't know where the support frame ends and the piece begins. The rocker arm shaft is a great example. Trimming or sanding often affected the appearance of the piece. Fastidious model builders would be disappointed with this - but I soldiered-on. The fuel pump arm has the pivot points hopelessly off centre - this is a visible moving part which would never work without modification, so I melted it with my soldering iron and bent it, as well as trimming the pivot pins to rough it in. Also don't wiggle the parts off the frame - it causes the clear parts to go cloudy and the darker parts to go whiter. Conclusion: you will need more than a Glue, Oil, a blade, and a screwdriver to complete this model as you see it out of the box. Buying the other screws is a good idea. In the end I'd recommend building it as an education tool, but you couldn't let a 12 year old do this "as supplied" without it ending in tears and with endless intervention to trim / hold / modify / etc. - just so you know. ... show more
Reviewed in the United States on February 21, 2012 by Froggy

  • Great to keep hands busy..
Purchased as a gift for a family member. Someone with ADHD and has trouble sitting and doing a project; they sat and put it together for hours. They loved it. Very cool to see it work.
Reviewed in the United States on September 9, 2025 by katrina Brennan

  • Waste of Time and Money
I have purchased products weekly from Amazon for over 15yrs, and this is the first time I’ve written a product review. This should tell you how much this particular purchase stood out to me. Like most people, I carefully review and research products before buying them. After reading all of the negative comments on this motor model and it’s instructions (or lack of), I decided to accept the challenge and approach the project with and open mind and a lot of patience. This only helped so much… The instructions are terrible, and in a few cases, actually wrong. Sometimes the only way to figure out how to correctly complete one step, is to jump ahead 3-4 steps and work backwards. Regardless, I kept pushing on. I made it approximately 3/4 of the way to finishing before realizing parts were missing. Being as accountable as I am, I thought I may have misplaced the missing part, despite maintaining an immaculately organized workspace. The parts in question are the springs shown in step 12, which requires 8 for one side and another 8 for the other. The unopened box came with ONE sealed bag of SIX springs. If my math is correct, …1x6=6, …8x2=16,…and 16-6=10… This means I paid for 10 springs that were not included. So, either this omission by the manufacturer was intentional in order to save some $, or some minimum wage assembly line worker was having a tough time earning his/her $15 per hour on packaging day, or this was just intended to be one of those novelty gag gifts instead of an actual model as advertised and I unfortunately ended up being the butt of the prank… Either way, the project I worked very hard on is now in the can by the curb, and I’m out of some hard-earned money that could and should have been spent elsewhere. ... show more
Reviewed in the United States on July 30, 2022 by Hom S.

Can't find a product?

Find it on Amazon first, then paste the link below.
Checking for best price...