


Buy Now, Pay Later
- – 4-month term
- – No impact on credit to apply
- – Instant approval decision
- – Secure and straightforward checkout
Ready to go? Add this product to your cart and select a plan during checkout.
Payment plans are offered through our trusted finance partners Klarna, Affirm, Afterpay, Apple Pay, and PayTomorrow. No-credit-needed leasing options through Acima may also be available at checkout.
Learn more about financing & leasing here.
Selected Option
This item is eligible for return within 30 days of receipt
To qualify for a full refund, items must be returned in their original, unused condition. If an item is returned in a used, damaged, or materially different state, you may be granted a partial refund.
To initiate a return, please visit our Returns Center.
View our full returns policy here.


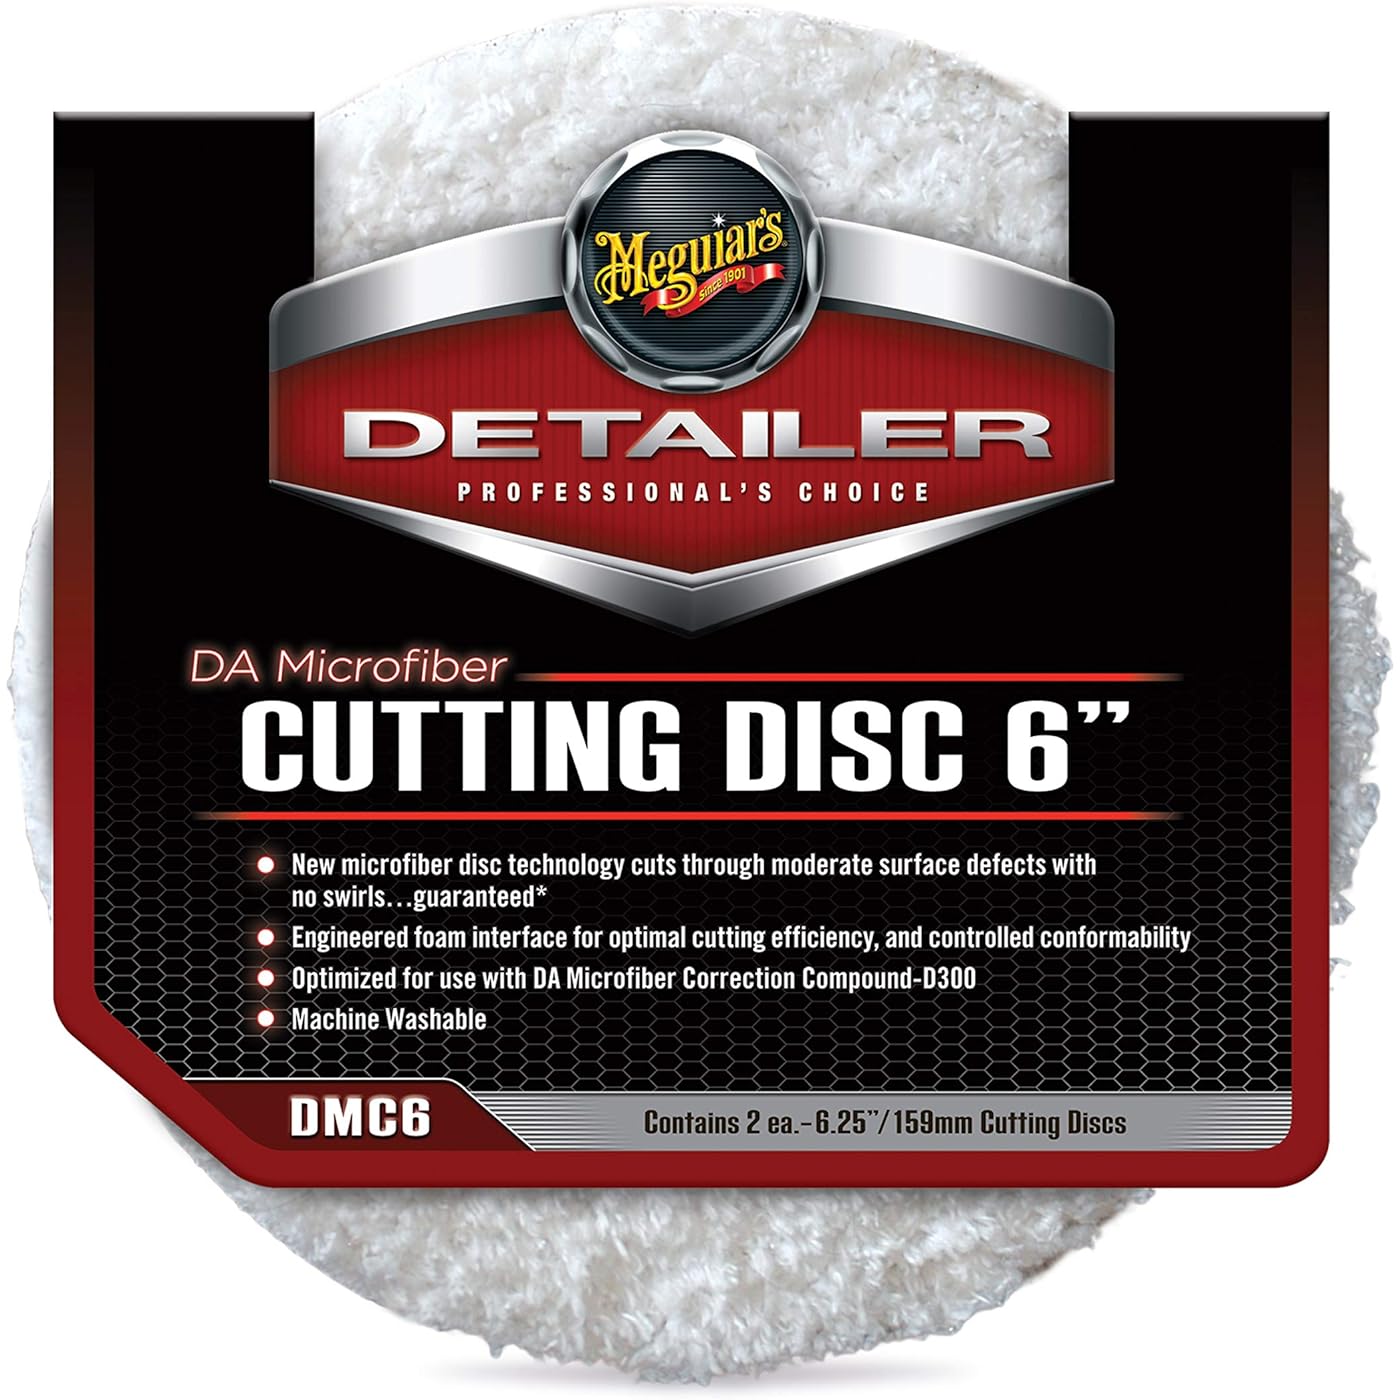
Style: 6-Inch
Size: 2-Pack
Features
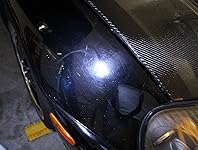
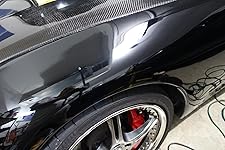
- SCRATCH REMOVER: Cuts through moderate surface defects without creating further swirls
- CORRECTION COMPOUND: Optimized for use with DA Microfiber Correction Compound D300. Use together for no-sling, low-dusting performance with minimal prep and cleanup time
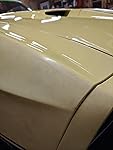
- NEW MICROFIBER PAD TECHNOLOGY: Foam interface provides optimal cutting efficiency and controlled conformability
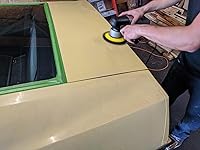
- MOST EFFECTIVE RESULTS: Designed to be used with Meguiar's MT300 Professional Dual Action Polisher and DBP6 6" DA Backing Plate
- REUSE: Microfiber discs are machine washable and reusable
Description
An essential tool for paint correction and defect removal, Meguiar’s DA Microfiber Cutting Discs quickly and effectively remove scratches, acid rain, swirls/holograms and more. Our new microfiber disc technology cuts through moderate surface defects without creating swirls, while an engineered foam interface provides optimal cutting efficiency and controlled conformity. No need for a rotary buffer! For optimal results, use with Meguiar’s Dual Action Polisher MT300, DA Backing Plate DBP6 and DA Microfiber Correction Compound D300. Discs are machine washable and reusable.
Manufacturer: Meguiar's
Brand: Meguiar's
Model: DMC6
Item Weight: 0.282 ounces
Product Dimensions: 8 x 8 x 1.5 inches
Country of Origin: USA
Item model number: DMC6
Is Discontinued By Manufacturer: No
Manufacturer Part Number: DMC6
OEM Part Number: DMC6
Domestic Shipping: Item can be shipped within U.S.
International Shipping: This item is not eligible for international shipping. Learn More
Date First Available: August 28, 2011
Frequently asked questions
To initiate a return, please visit our Returns Center.
View our full returns policy here.
- Klarna Financing
- Affirm Pay in 4
- Affirm Financing
- Afterpay Financing
- PayTomorrow Financing
- Financing through Apple Pay
Learn more about financing & leasing here.
Similar Products


Top Amazon Reviews