HomeRight 2412331 Quick Finish HVLP Paint Sprayer Power Painter, Spray Gun for Crafting and Furniture Blue


Buy Now, Pay Later
- – 6-month term
- – No impact on credit to apply
- – Instant approval decision
- – Secure and straightforward checkout
Ready to go? Add this product to your cart and select a plan during checkout.
Payment plans are offered through our trusted finance partners Klarna, Affirm, Afterpay, Apple Pay, and PayTomorrow. No-credit-needed leasing options through Acima may also be available at checkout.
Learn more about financing & leasing here.
Selected Option
FREE 30-day refund/replacement
To qualify for a full refund, items must be returned in their original, unused condition. If an item is returned in a used, damaged, or materially different state, you may be granted a partial refund.
To initiate a return, please visit our Returns Center.
View our full returns policy here.
Recently Viewed


Size: QuickFinish
Features
- HVLP SPRAY GUN FOR COUNTLESS PROJECTS: The HomeRight Quick Finish paint sprayer is better than the average paint brush or spray can. This electric paint sprayer makes it easy to finish small sized projects such as furniture, decor, crafts, and more
- ADJUSTABLE SETTINGS FOR YOUR PROJECT NEEDS: You can turn the air cap to spray horizontal, vertical and round. You can also adjust the material flow control to quickly increase or decrease material output
- EASY TO SPRAY AND CLEAN: Spray a wide variety of materials such as thinned chalk, milk and latex paints, stain, sealer, lacquer and varnish. It features Lock-n-Go technology, allowing for quick color or material changes and clean-up
- SMOOTH, CONSISTENT FINISH: This lightweight, handheld paint sprayer is designed to apply a smooth, consistent finish so you dont have to worry about ugly brush marks ruining your project
- U.S. BASED CUSTOMER SERVICE AND 1 YEAR WARRANTY: Please call or chat with our U.S based customer service team for quick and efficient assistance. Were proud of our products, which is why the Quick Finish is backed by a 1 year warranty
Description
The HomeRight Quick Finish Paint Sprayer is designed to apply a smooth, consistent finish on small sized projects such as furniture, décor, crafts and more. It offers superior results compared to the average brush or spray can and features multiple adjustable settings to suit your project needs. With a quick adjustment, you can change between the three spray patterns (horizontal, vertical or round) and adjust the flow control knob to increase or decrease material output. The sprayer is designed to spray a wide variety of paints and stains such as thinned latex paints, stains, sealers, enamel and more! Thanks to the innovative Lock-n-Go technology, you can quickly separate the motor from the cup and gun to easily change materials or colors and clean up right in a sink! The Quick Finish cleans up in less than 10 minutes due to the simple design and few parts to clean. HomeRight is proud of their products, which is why the Quick Finish is backed by a 1 year warranty. For even better performance and functionalities on your DIY projects, check out the Finish Max and Super Finish Max. Please reference owner's manual for tips, troubleshooting and thinning guidelines.
Brand: HomeRight
Tank Volume: 27 Fluid Ounces
Color: Blue
Recommended Uses For Product: Easy to spray and clean a variety of materials, Great for crafting and small projects, Lightweight, Lock-n-Go technology, Smooth, consistent finish See more
Material: Plastic
Brand Name: HomeRight
Recommended Uses For Product: Easy to spray and clean a variety of materials, Great for crafting and small projects, Lightweight, Lock-n-Go technology, Smooth, consistent finish
Included Components: Instruction Guide, Nozzle, Quick Finish Sprayer
Model Name: Quick Finish
Model Number: 2412331
Manufacturer Warranty Description: 1-year limited warranty
UPC: 024964295500
Manufacturer Part Number: 2412331
Item Type Name: Paint Sprayer
Manufacturer: Wagner Spraytech
Tank Volume: 27 Fluid Ounces
Item Dimensions W x H: 6.44"W x 10.63"H
Color: Blue
Style Name: Quick Finish
Power Source: AC/DC
Material Type: Plastic
Frequently asked questions
To initiate a return, please visit our Returns Center.
View our full returns policy here.
- Klarna Financing
- Affirm Pay in 4
- Affirm Financing
- Afterpay Financing
- PayTomorrow Financing
- Financing through Apple Pay
Learn more about financing & leasing here.
Similar Products
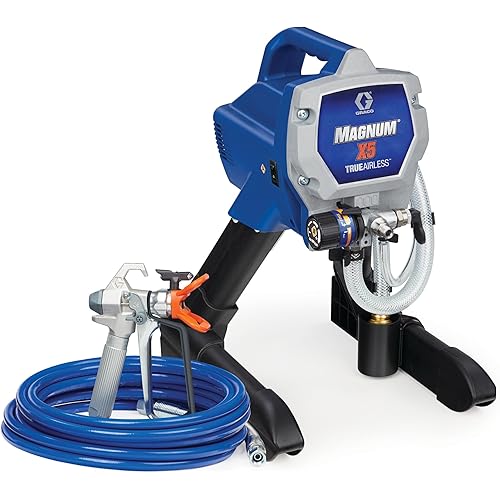

Graco Magnum 262805 X7 Cart Airless Paint Sprayer, Gray